|
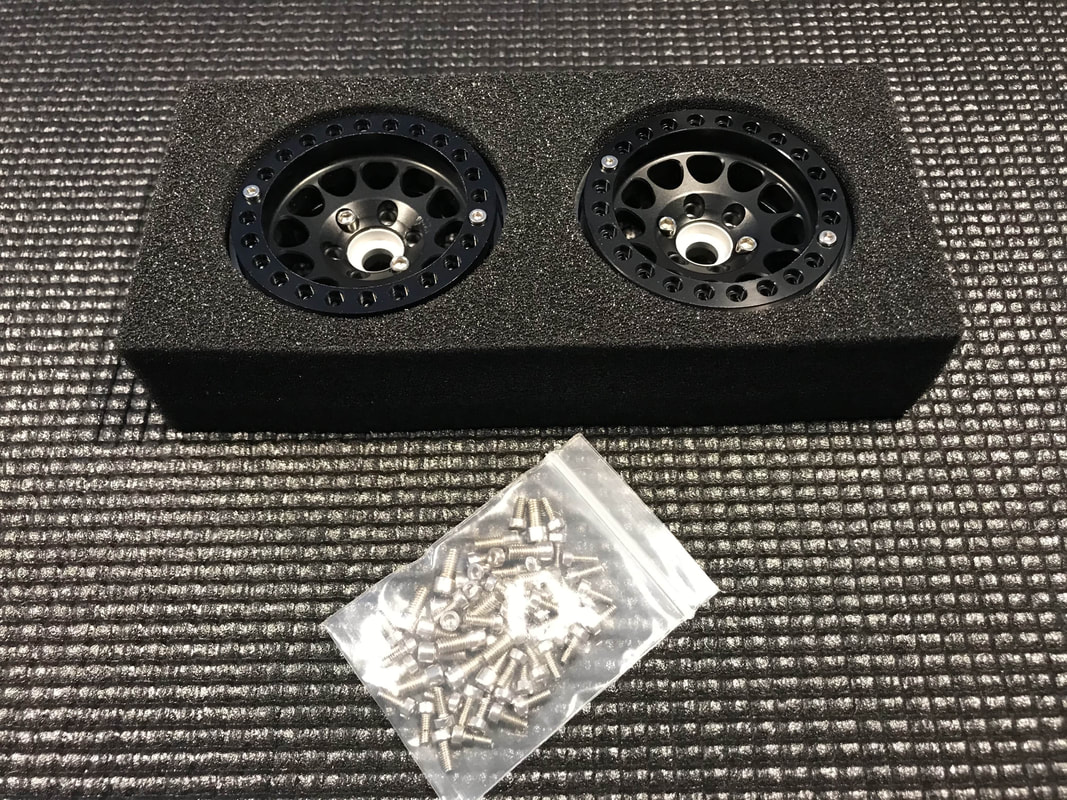
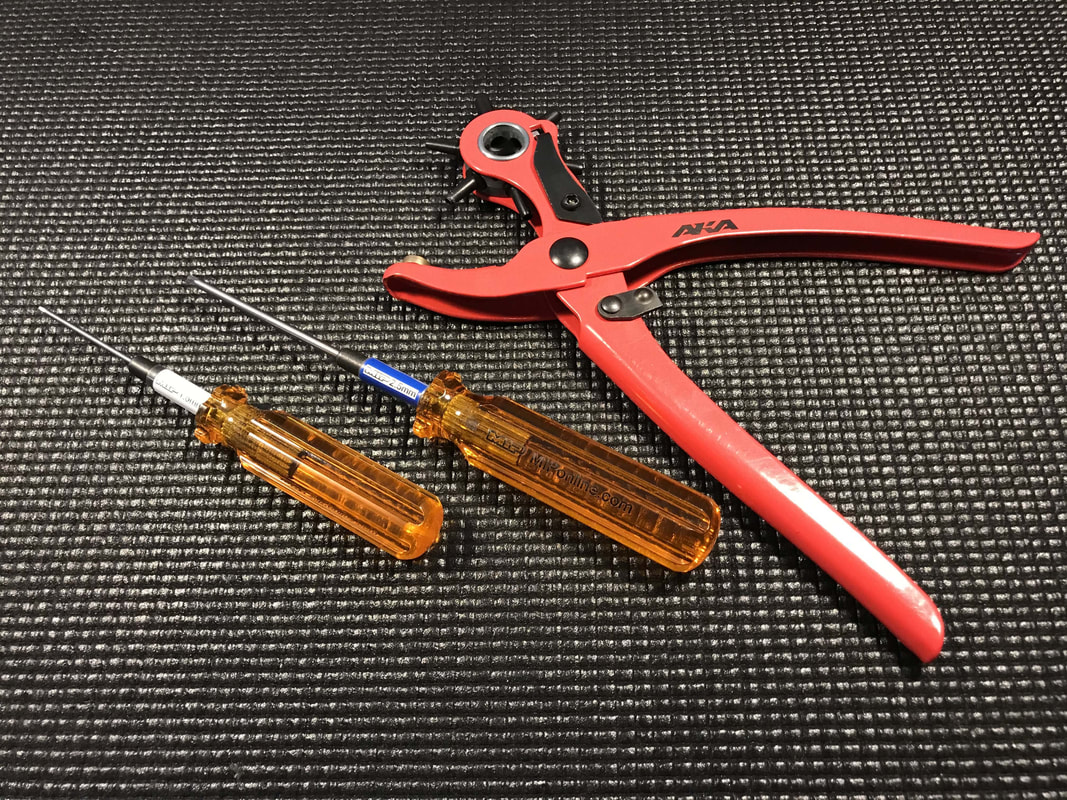
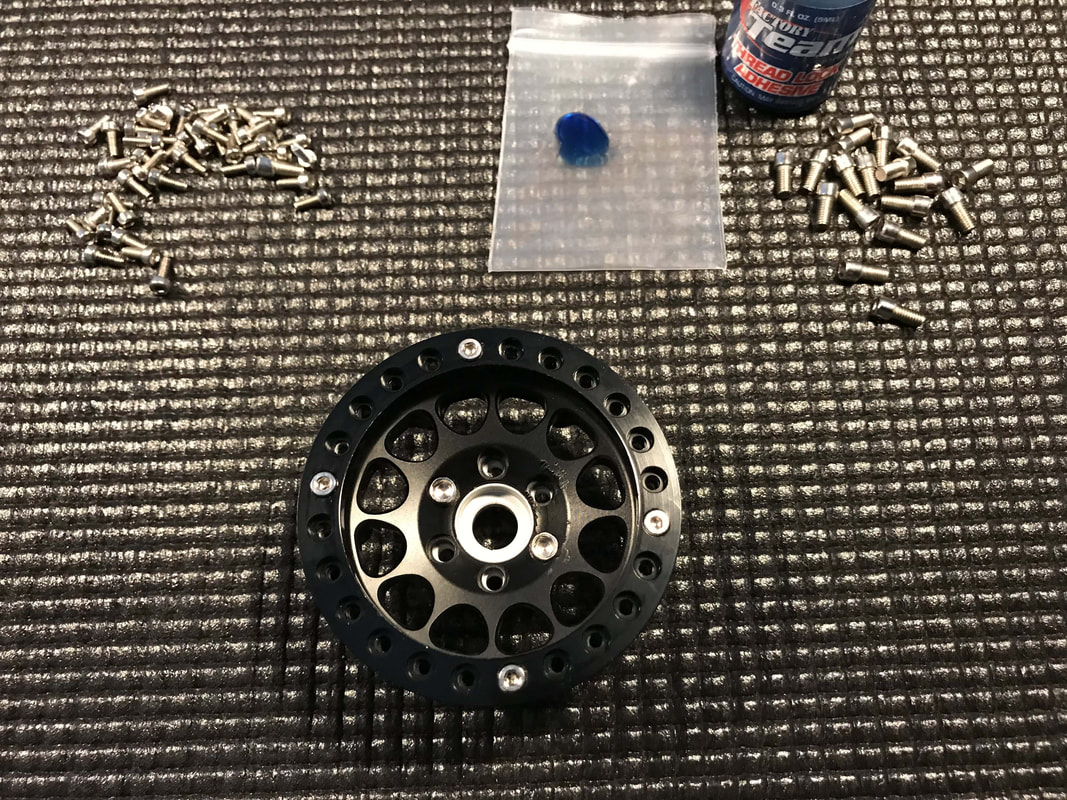
Not long ago, I wrote a post about changing the wheels on my son's Gen8 V2 and showed a quick look at my Injora 1.9 beadlocks. I'm slowly getting these wheels ready to install on my Gen8 AXE and thought I'd show you how they are assembled. This assembly / mounting process should be the same for most 1.9 beadlock wheels such as SSD, Injora, RCLion etc that you'll find on Amazon. It's easy once you know how to do it but if you've never assembled a beadlock wheel, this might help you. Here's how I do it.... Step 1: Start by cleaning and organizing your work area. Get your tools and supplies ready, throw on some music and grab something to drink...this is going to take a little while Here's what you'll need:
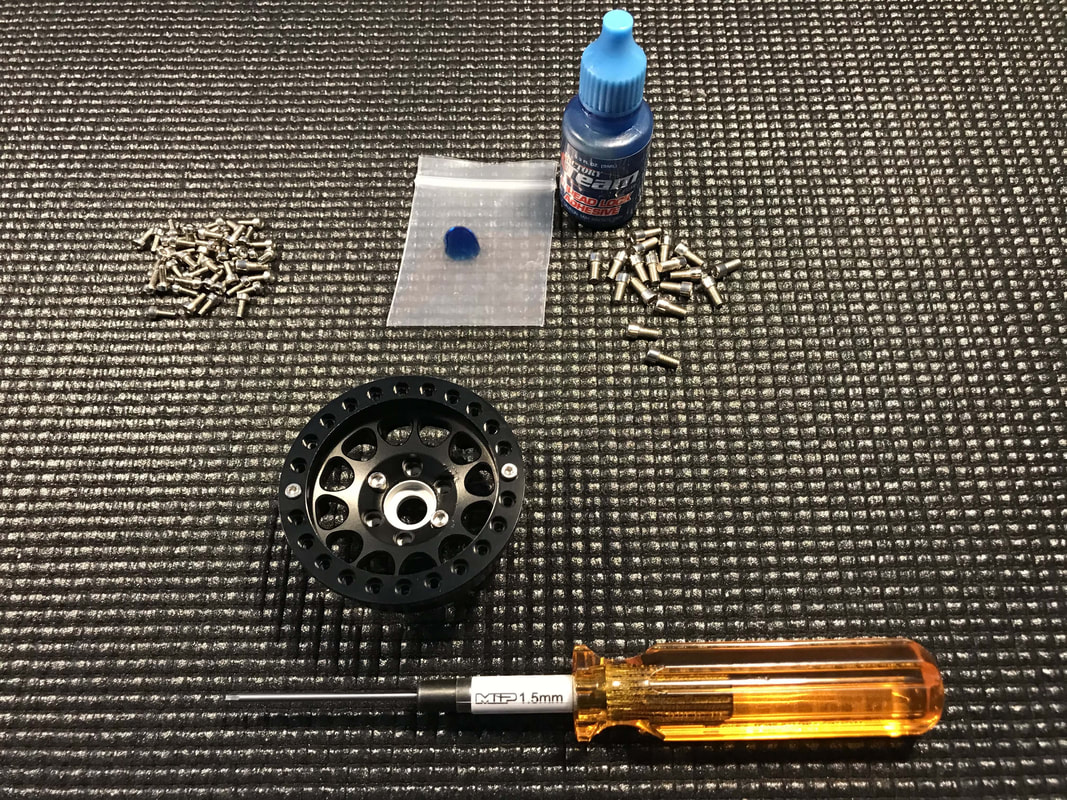
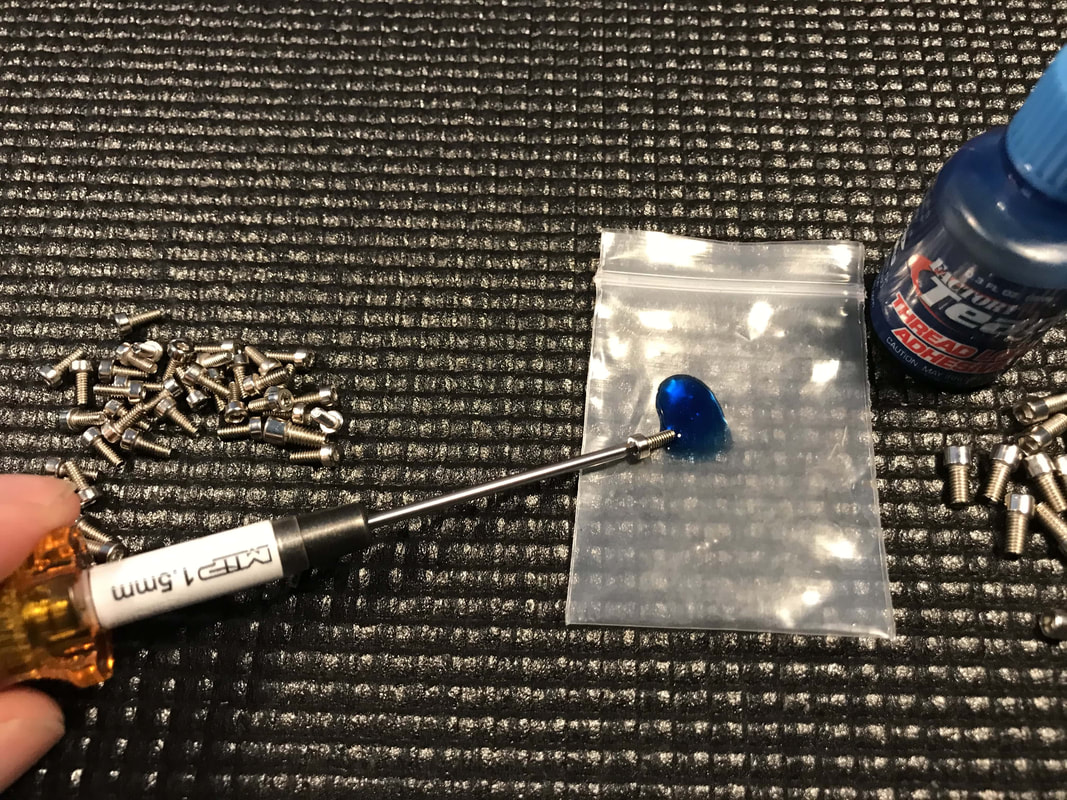
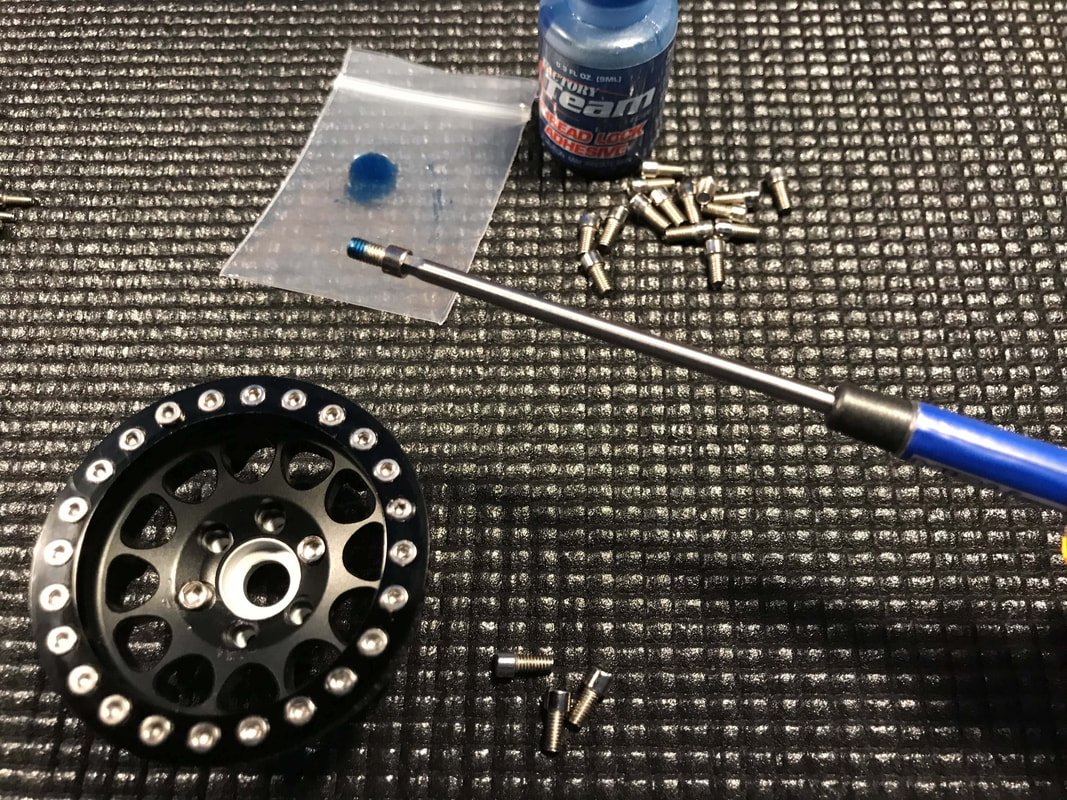
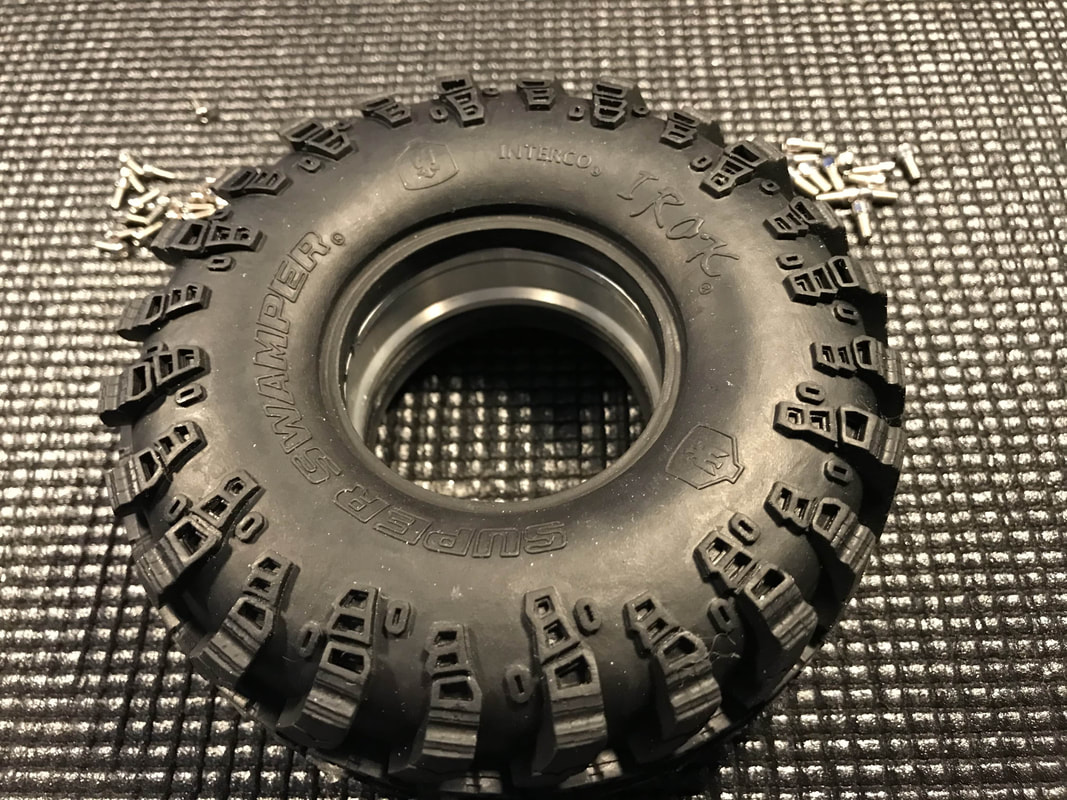
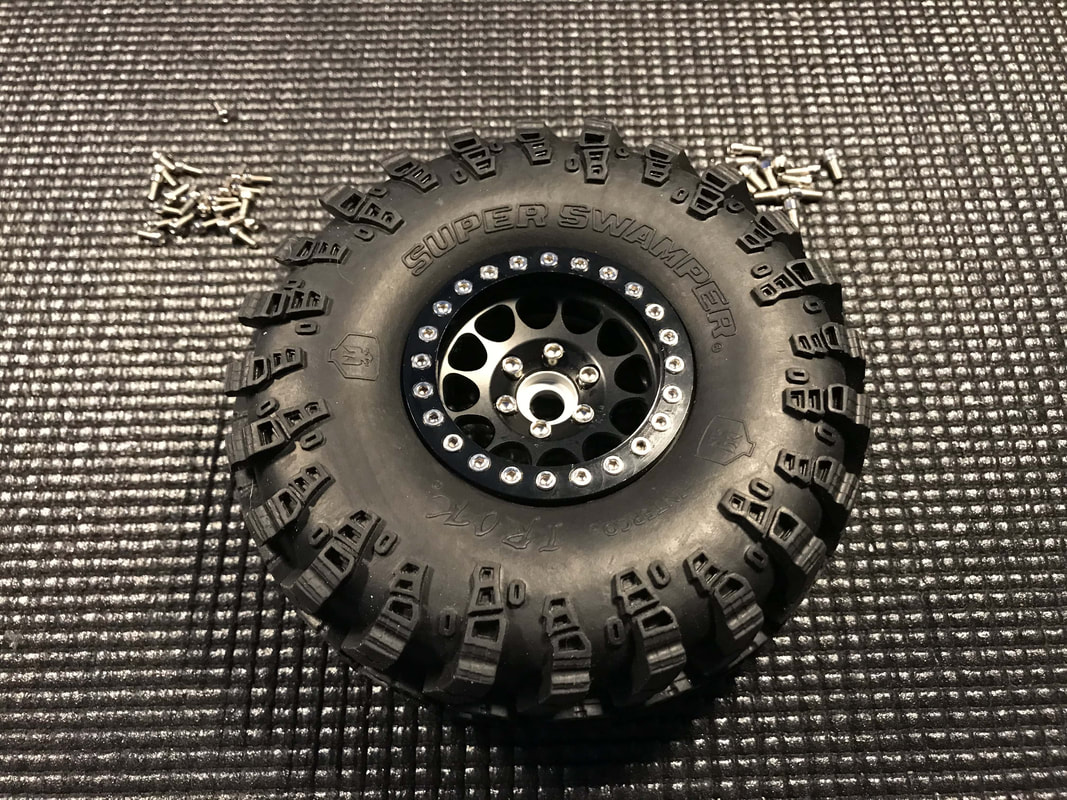
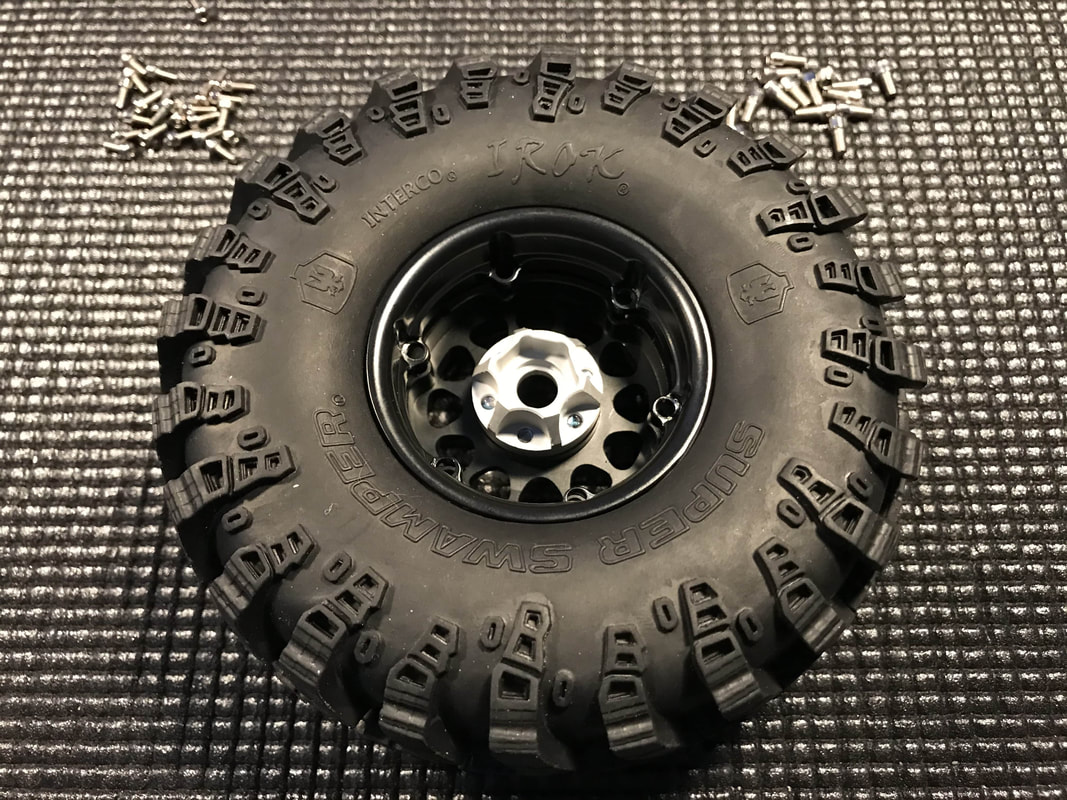
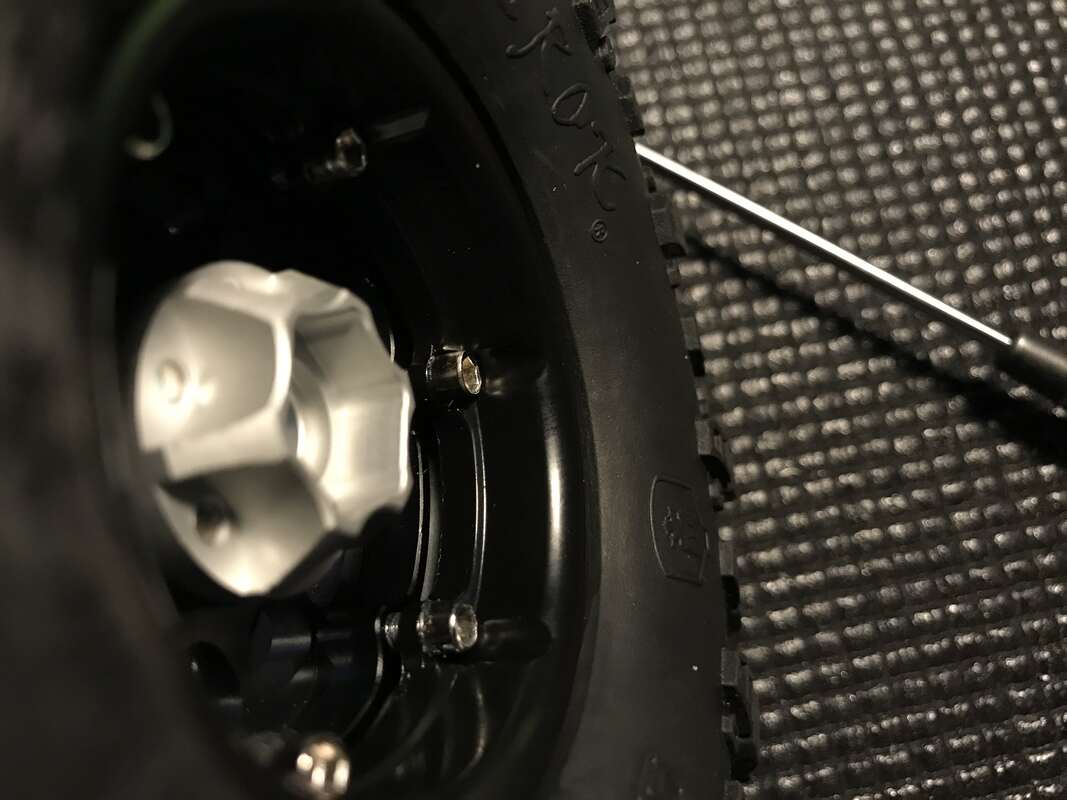
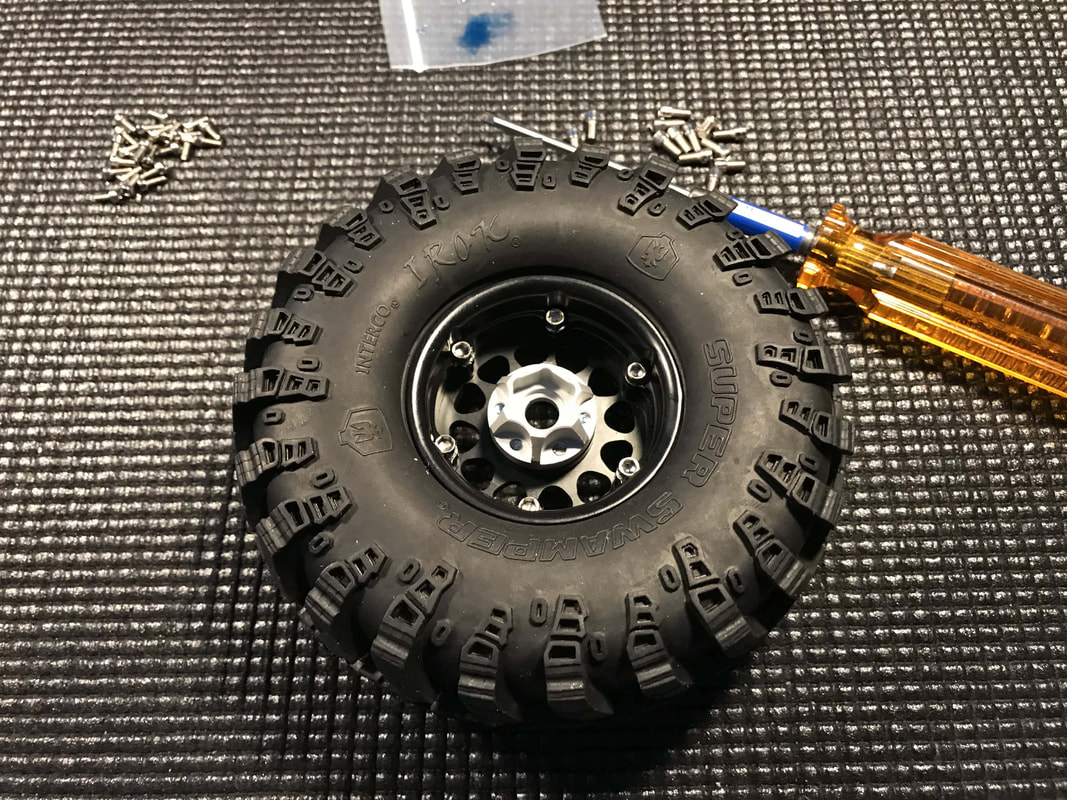
Step 2: Assembly starts with mounting the beadlock ring to the face of the wheel. There's a lot of little screws to install but don't worry, you'll likely never have to remove any of these screws again in the future A little dab will do ya. Don't use too much threadlock. Put a small amount on a piece of plastic then dip the tip of the screw into the threadlock. Using too much threadlock or using too strong of a threadlock will just lead to stripped screws and frustration if you ever try to remove them later Use a star pattern to gently install the screws. Remember, you are working with small screws threading into aluminum...two fingers on the driver are enough. Work your way back and forth installing the screws in that star pattern then finish up with a couple of rounds of snugging up each screw. Go easy...the threadlock will hold them in place. Snug is good enough. Step 3: Once you've secured the beadlock ring, grab your 2.5mm hex driver and use the same process to secure the hub to the wheel. The same tips apply, use a small amount of threadlock and go easy on the screws Step 4: Next, install the metal ring inside the tire. Double check that it sits evenly inside the tire and that the beads are even. Some rings may have an inside and an outside. Look closely at yours when you install them to ensure you put them in correctly. My Injora wheels don't have an inside/outside so I just stuffed them in there STOP: This is where you'll also have to decide whether or not to punch vent holes in your tires to let the air escape. If your wheels have holes in them, you do not have to punch your tires but, if you plan to run in water, you may want to in order to let the water drain out. There's lots of info/debate online about whether or not to vent crawler tires, I'll let you Google that and decide on your own. I vent mine with three holes spread equally around the center line of the tire's tread - sorry, I forgot to take a picture Step 5: Now it's time to drop the face of the wheel into place. Pay close attention to the bead and make sure everything is seated evenly. If you have any trouble getting the wheel face in place, a little water or saliva (if no one is looking) works well as a lubricant. I don't recommend using any oil or grease Tip: if your tires are directional, now's the time to double check that you have the face installed on the correct side of the wheel/tire Step 6: Flip your wheel over and drop the back plate into place being careful to line up the screw holes and also to get the bead seated evenly. This is where it gets a little tricky. When you try to install the screws that attach the back plate, you'll likely have to use one hand to squeeze the pieces together while using the other hand to attempt to thread in the screws. It's not too difficult but it will take a little effort. Get the first screw started but don't thread it in all of the way. Use a star pattern to get all of the screws started. Note the gap between the wheel center and the back plate in the image above. Finish up by carefully tightening these screws and you are all done with your first wheel.
I'd show you a nice picture of my wheels installed on my Gen8 AXE here but I still have three more wheels to build and I want to go crawling now so I'll create that post later 'till next time, have fun Rob By the way, if you found this post helpful, please help me out and use one of the links to Amazon within the post the next time you buy something (it doesn't have to be the item I link to...heck, go buy some toilet paper). If you use the link, Amazon will pay me a small commission and it won't cost you anything extra. Comments are closed.
|
TOP Categories |
information |
resources |
|
|
© www.teamredcatshop.com All rights reserved

