|
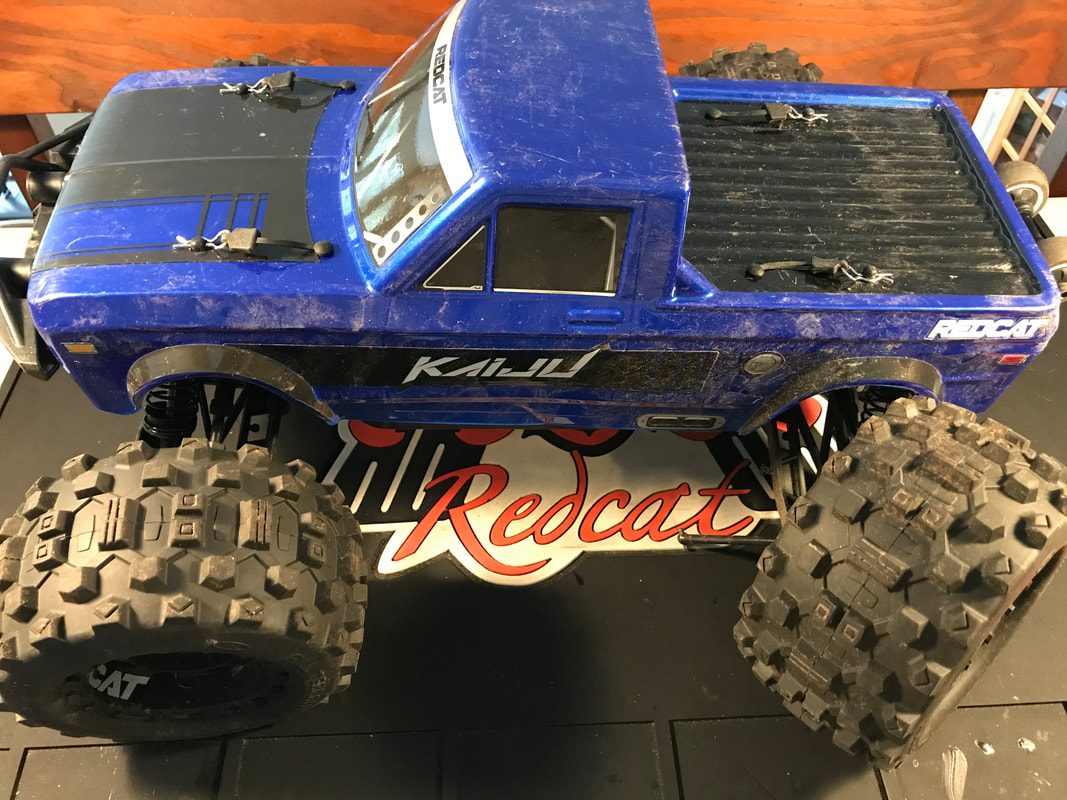
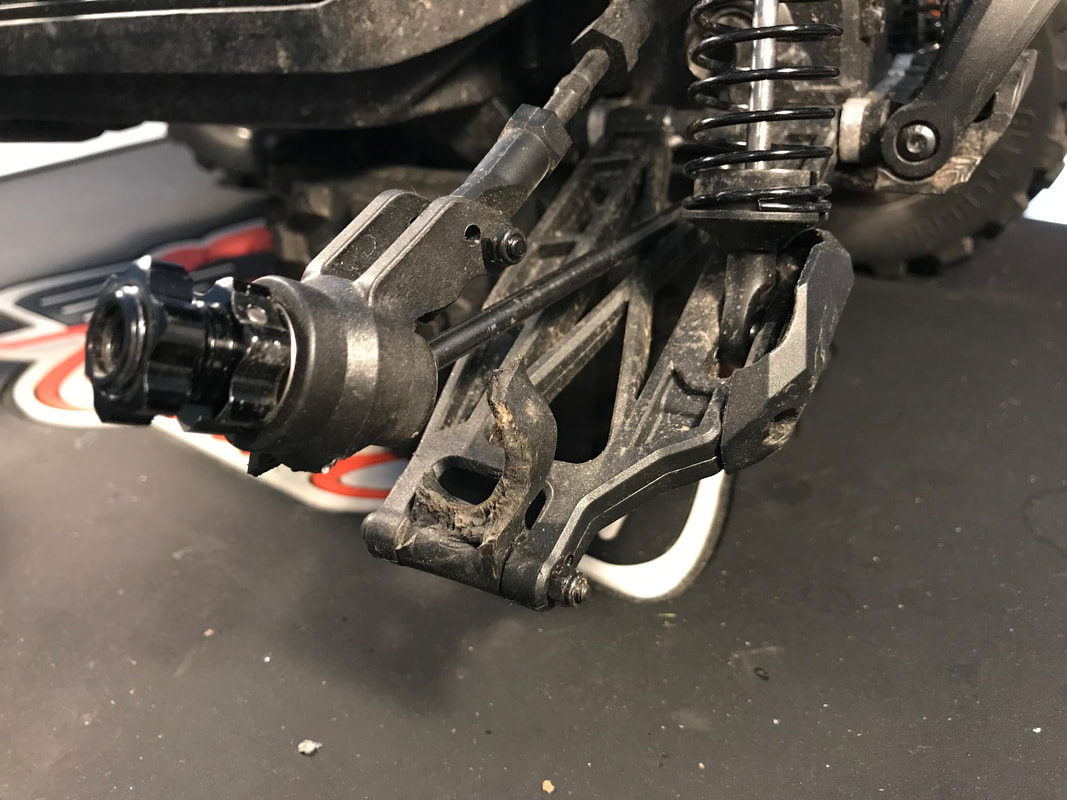
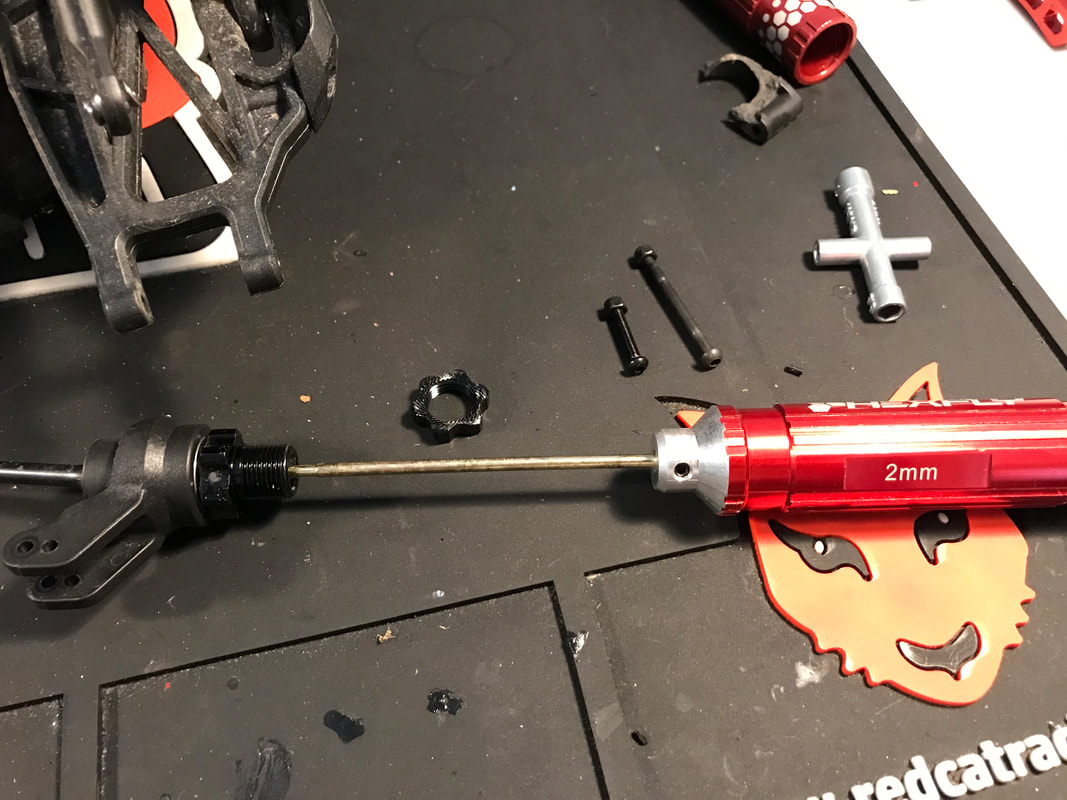
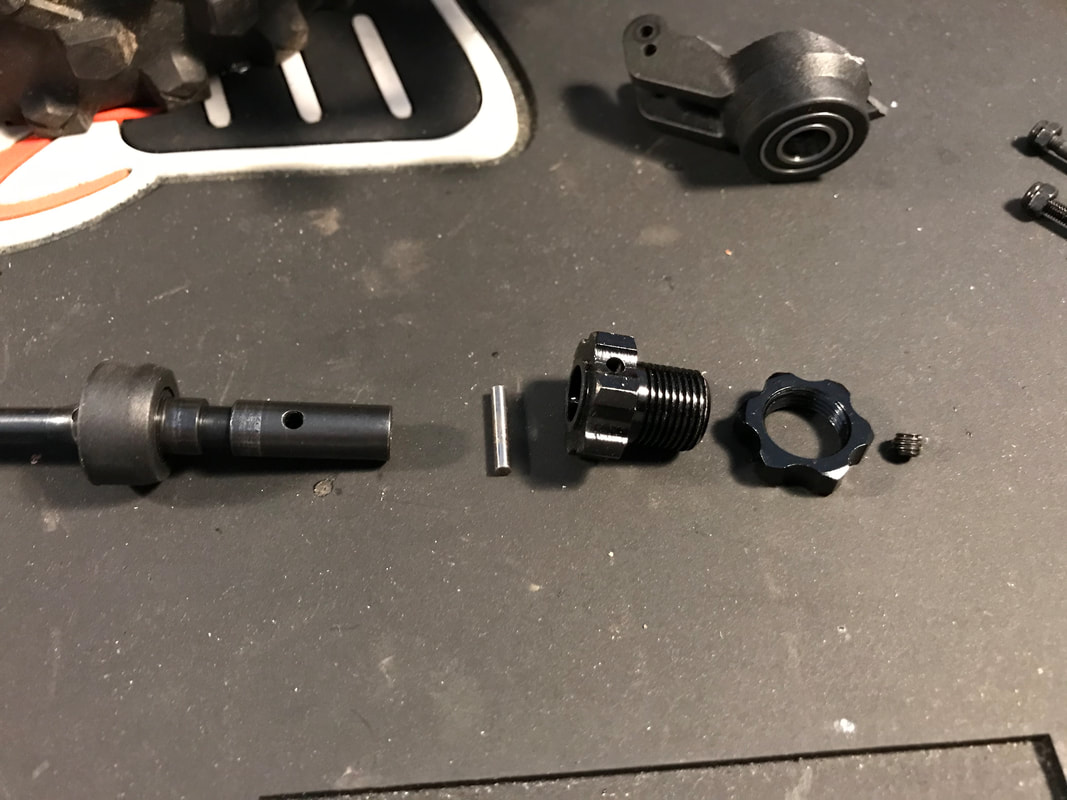
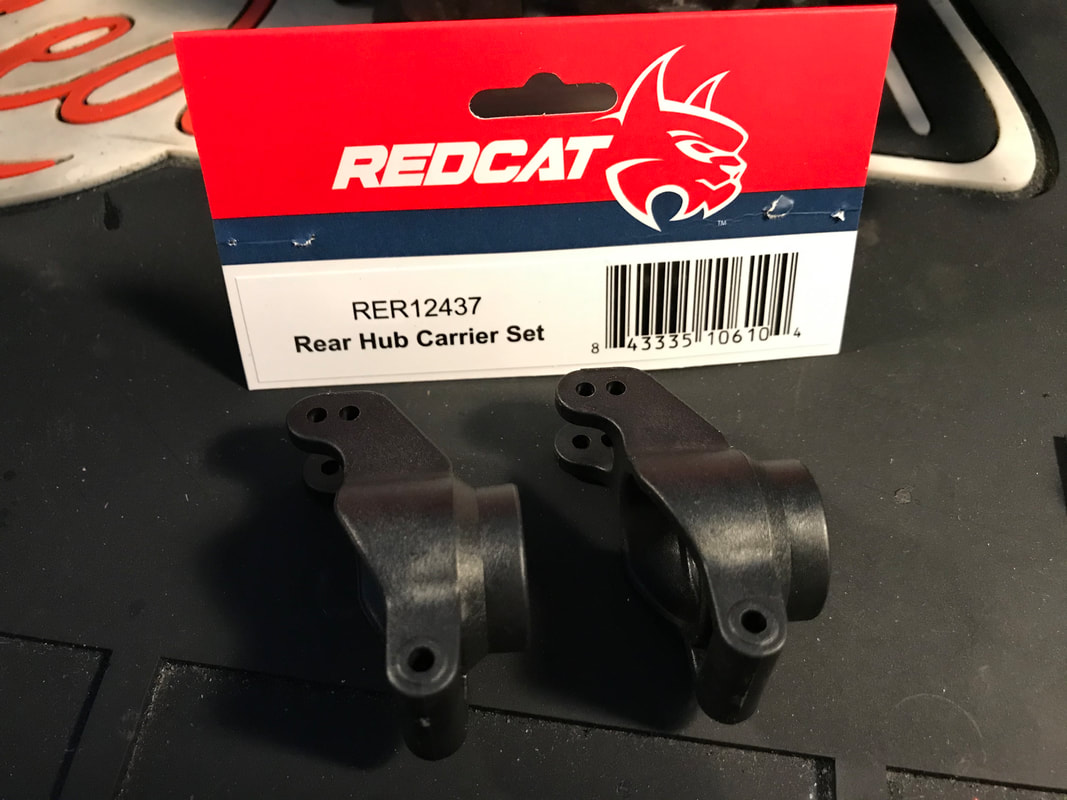
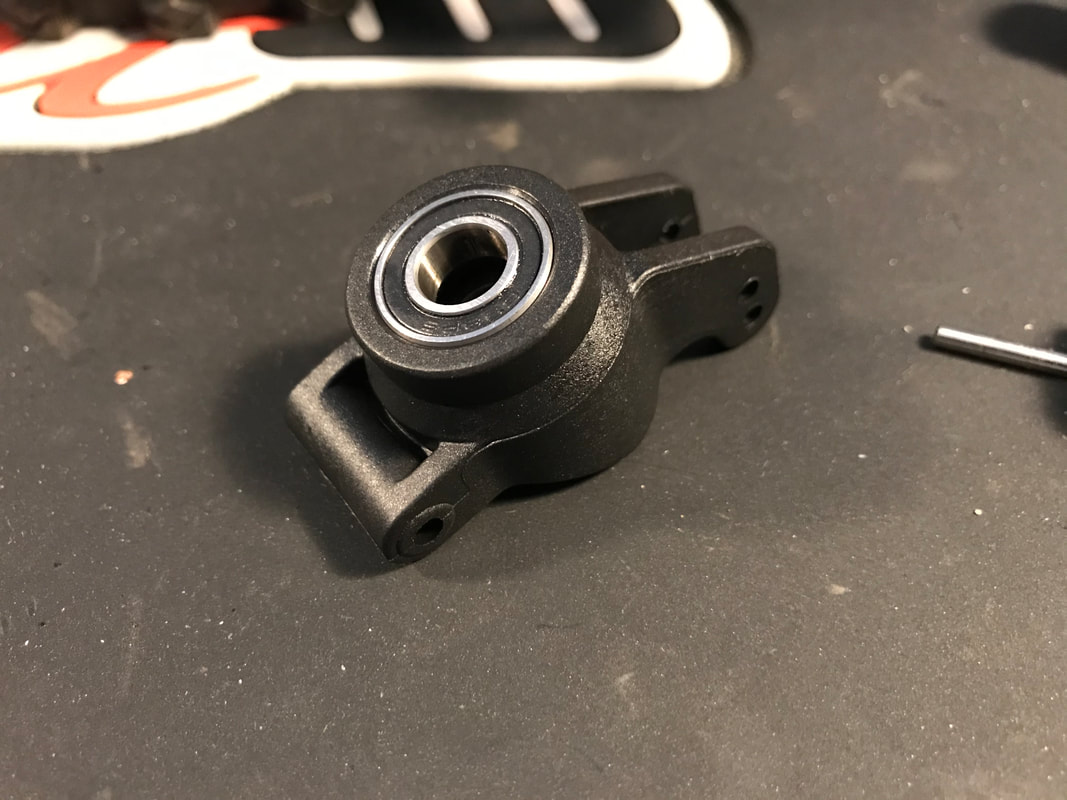
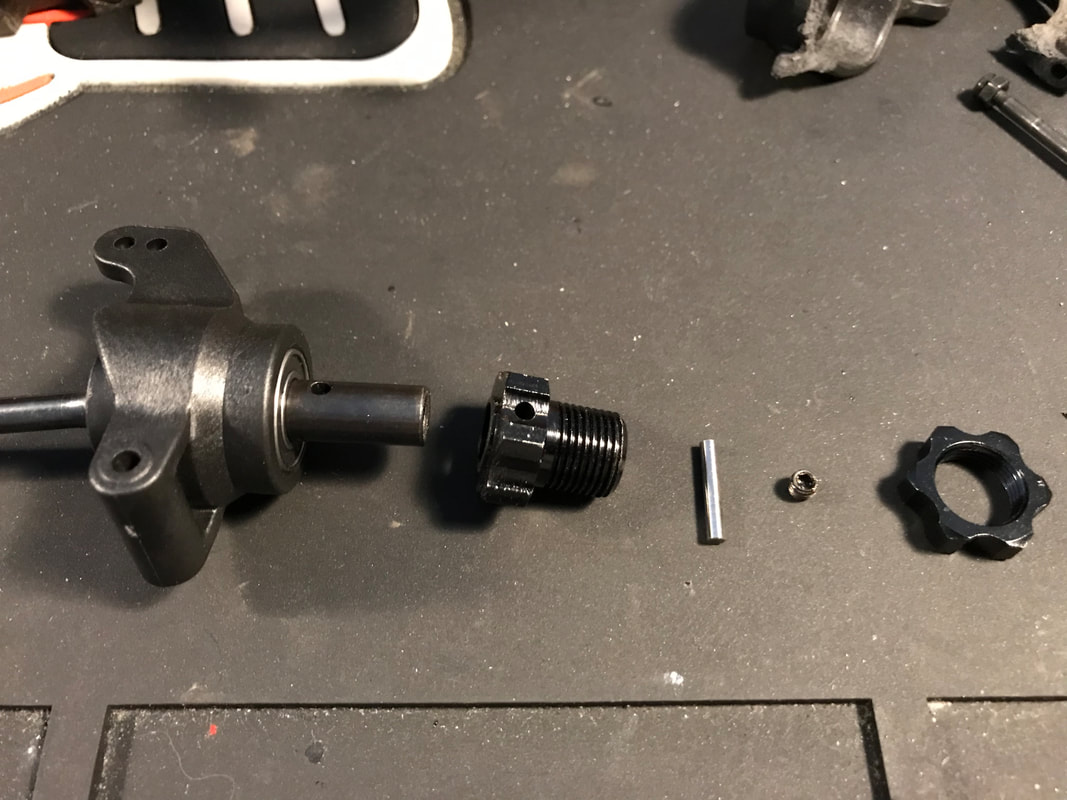
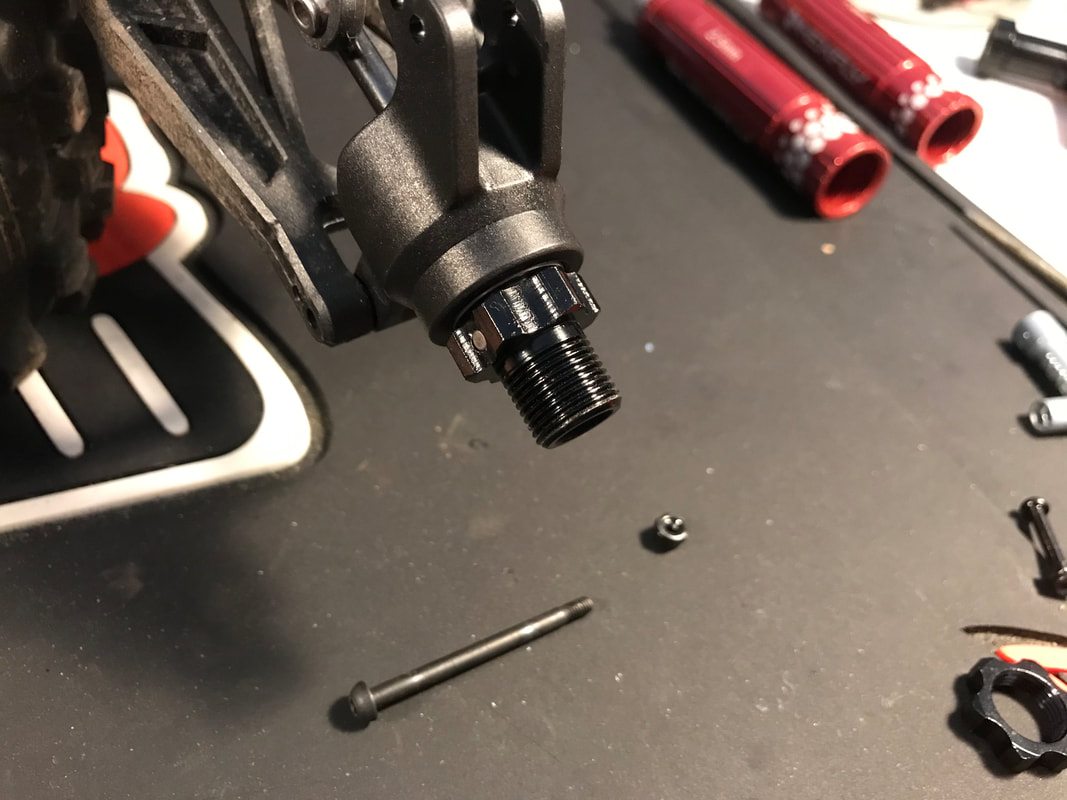
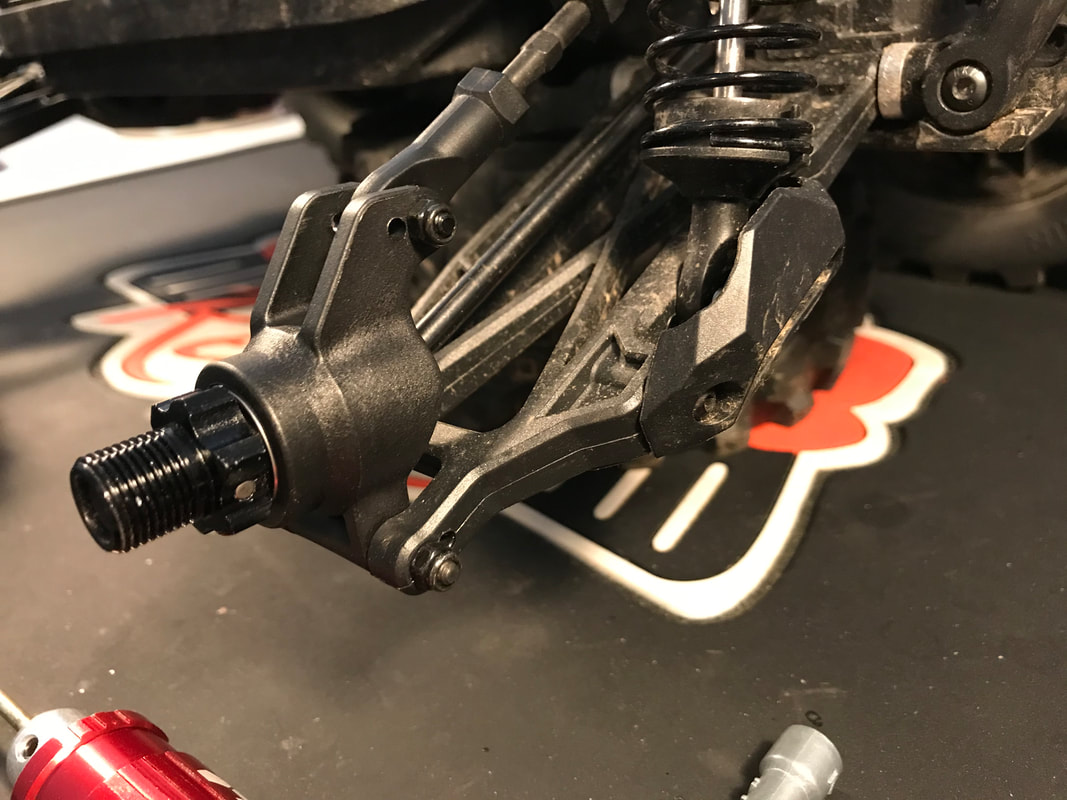
After a hard bash session, I finally broke a part on my Kaiju - a rear hub carrier. Follow along as I swap it out... Now there's the problem! Although broken, the rear hub's plastic looks very nice, with lots of fibre material After removing the wheel, the next step is remove the two hinge pins. The lower hinge pin requires a 2.5mm driver and the upper requires a 2.0mm driver. Next, use your 2.0mm driver to remove the set screw that is located inside the wheel hex. Once you have removed the set screw, you can push the pin out - I used a 1.5mm driver to push the pin out Here's how the parts look once everything is removed. Notice the set screw on the right side...that's what you need to remove before trying to press the pin out of the wheel hex One nice thing about the Kaiju is that several of the parts can be used on the left or the right side of the truck. When you purchase your 12437 Rear Hubs, you will receive two parts. Each can be used on either side of the truck. These are really cheap too so, you may want to grab a set just to have in your pit bag. Next, I popped the bearings out of the broken hub and snapped them into the new hub. I gave my bearings a quick check over before installing them and they were nice and smooth. These bearings are rubber sealed and they feel like they are grease filled so they should last a while even if I run my Kaiju in some water or mud. Time to put it back together... Once you have the bearings installed in the new hub, slide the CVD through. Then, the wheel hex slides over the CVD, the pin goes through the hole and lastly the set screw is re-installed to hold the pin in place. I chose to not use any thread lock on the set screw. I want to ensure I can get it out easily again in the future. I'll just check it from time to time to ensure it hasn't come loose. Next up was to re-install the lower hinge pin. DON'T OVER TIGHTEN THE NUT. I suggest you tighten the nut until it feels fairly tight then check to see that the hub moves freely in the suspension arm. If the hub feels tight or binds in any way, loosen the nut a little. Keep loosening the nut a little at a time and check the hub for binding. Once it moves freely, stop there. Last but not least, install the upper hinge pin. Pay attention to what hole the pin goes through. My truck came with the hinge pin installed on the inner hole so that's where I put it back...make sure you keep the left side and the right side of your truck set up exactly the same way. Once again, don't over tighten the nut on the hinge pin. All fixed in under 10 minutes. That was easy.
Here are the parts and tools I used to make the job quick and easy:
Now, I'm going to charge up some batteries and get back to bashing! 'till next time Rob
Scott
12/30/2020 06:44:49 pm
I'm just curious if you have any feelings about the quality of the VolcanoEPX models...? My son's new truck dropped/stripped out the l/f lower steering knuckle screw after literally his first run down the road and he bumped into the curb. I could not qualify this as a crash or abuse, or I'd personally own up to it. After a DIY fix (filling the stripped hole with epoxy) and getting it going again, we ran 2 runs around a BMX track. After a few mild jumps on the whoop-d-whoops, , a rear wheel fell off when the 'wheel axle' snapped at the pin. AND they are not even in stock...
Rob
12/30/2020 07:43:07 pm
Hi Scott. The Volcano is one of Redcat's lowest priced models and is therefore one of their best sellers but it's a very old design. I don't sell it as I prefer to sell only the newer, better quality models. With that said, most folks that have a Volcano seam to really enjoy them so hopefully you just had a little bad luck Comments are closed.
|
TOP Categories |
information |
resources |
|
|
© www.teamredcatshop.com All rights reserved

