|
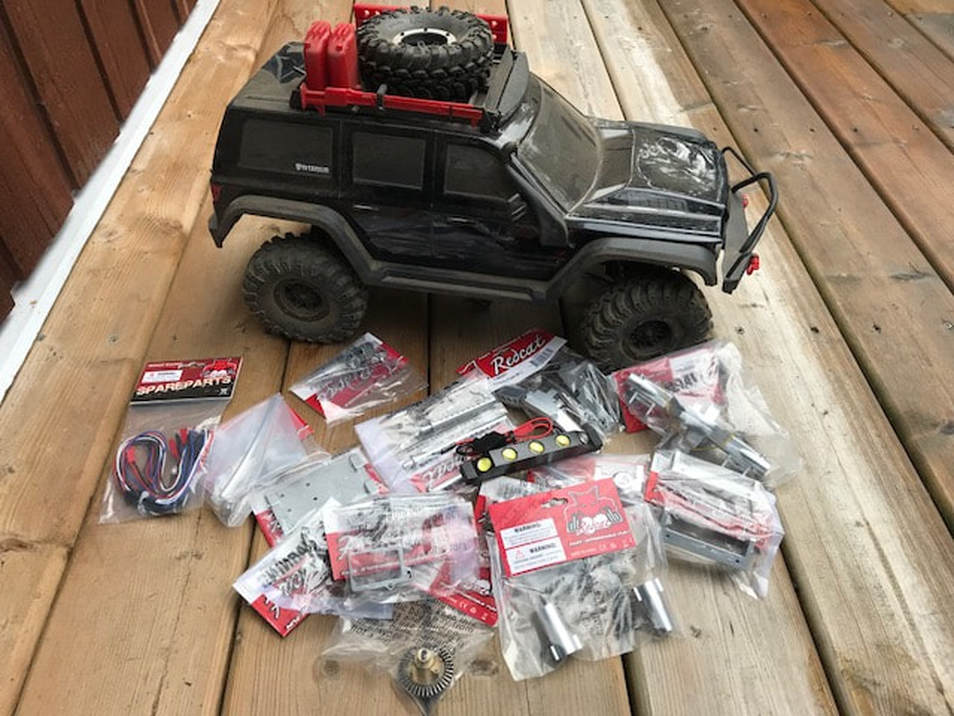
With winter approaching and my outdoor racing season finished, I've set my TR-SC10E race truck aside and started working on a new project. Enter my Everest Gen7 Pro and project "If it ain't broke, fix it" Other than black paint on the beadlocks, my Gen7 is completely stock but that's about to change... I haven't fully worked out what the project will look like but here's the tentative plan:
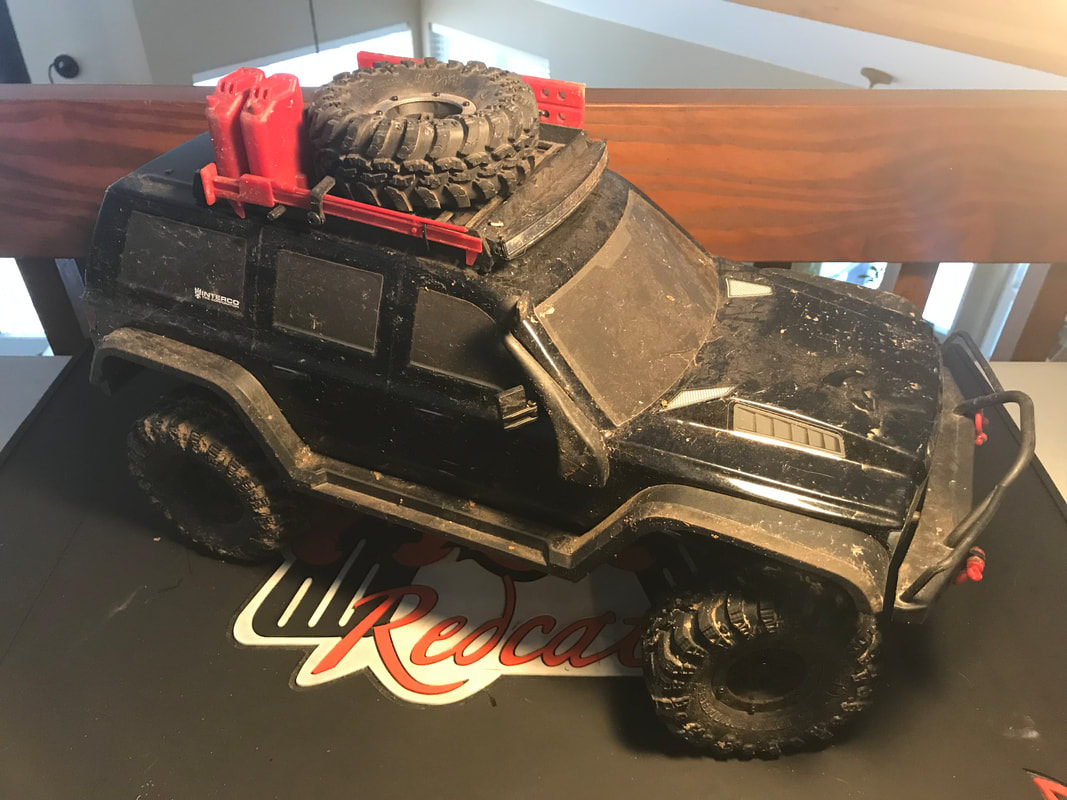
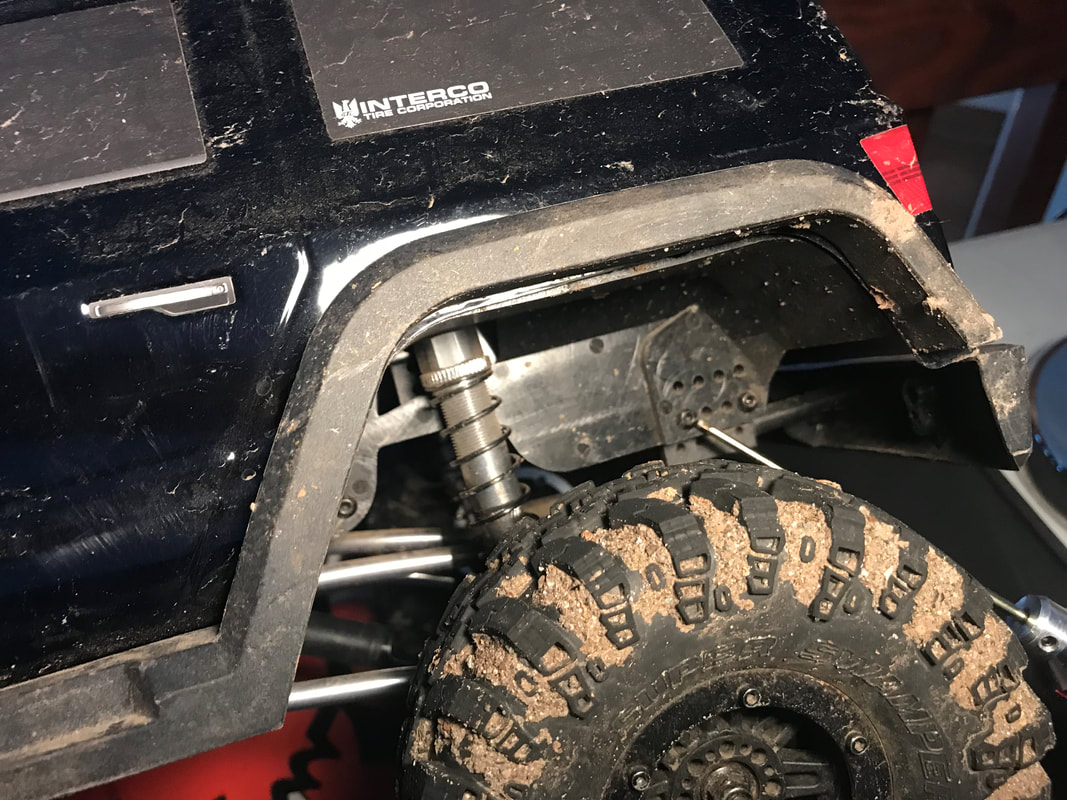
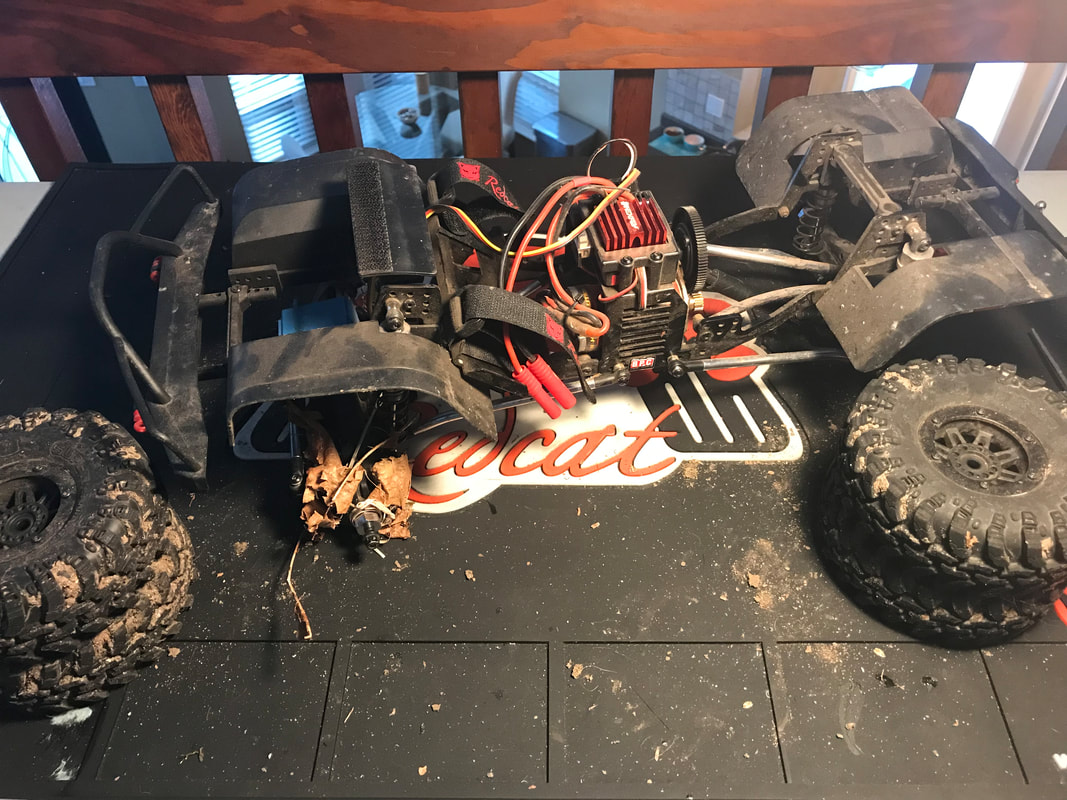
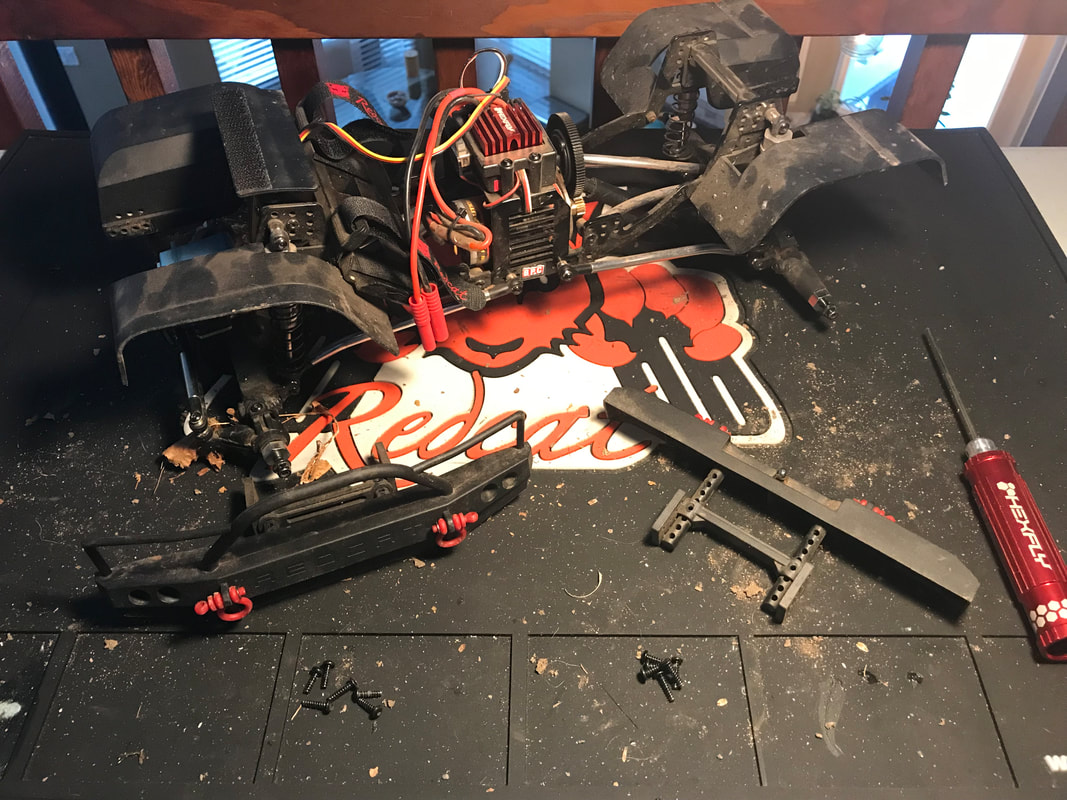
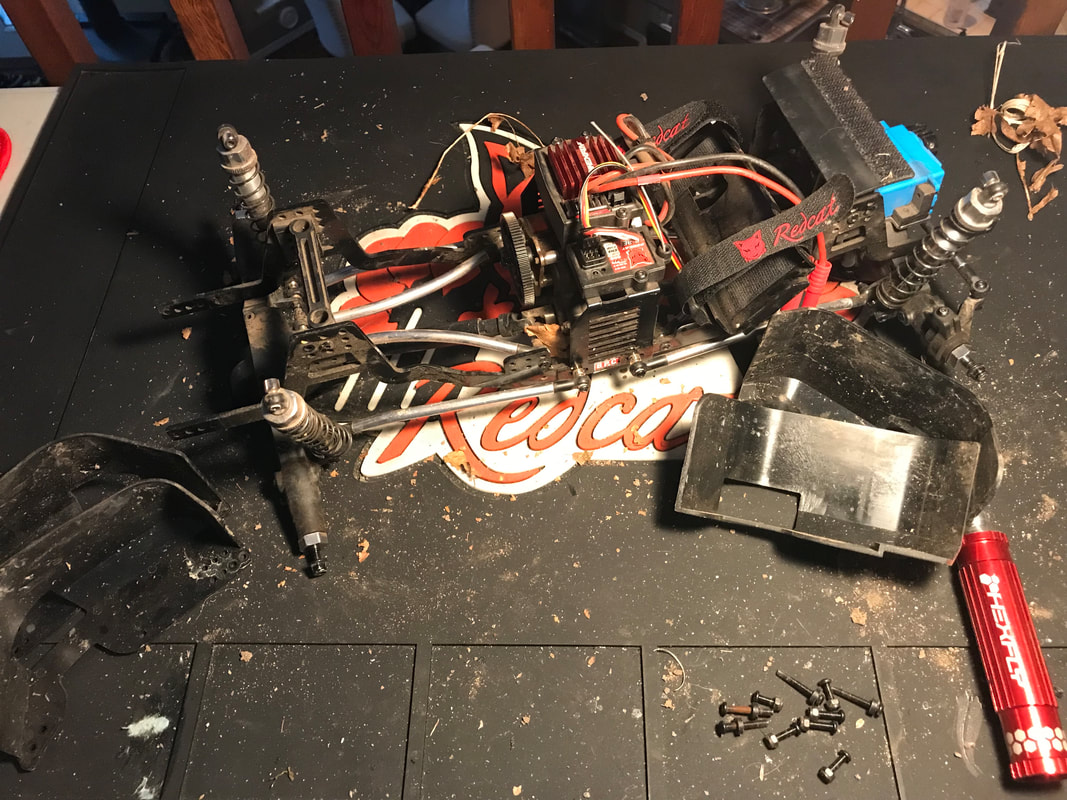
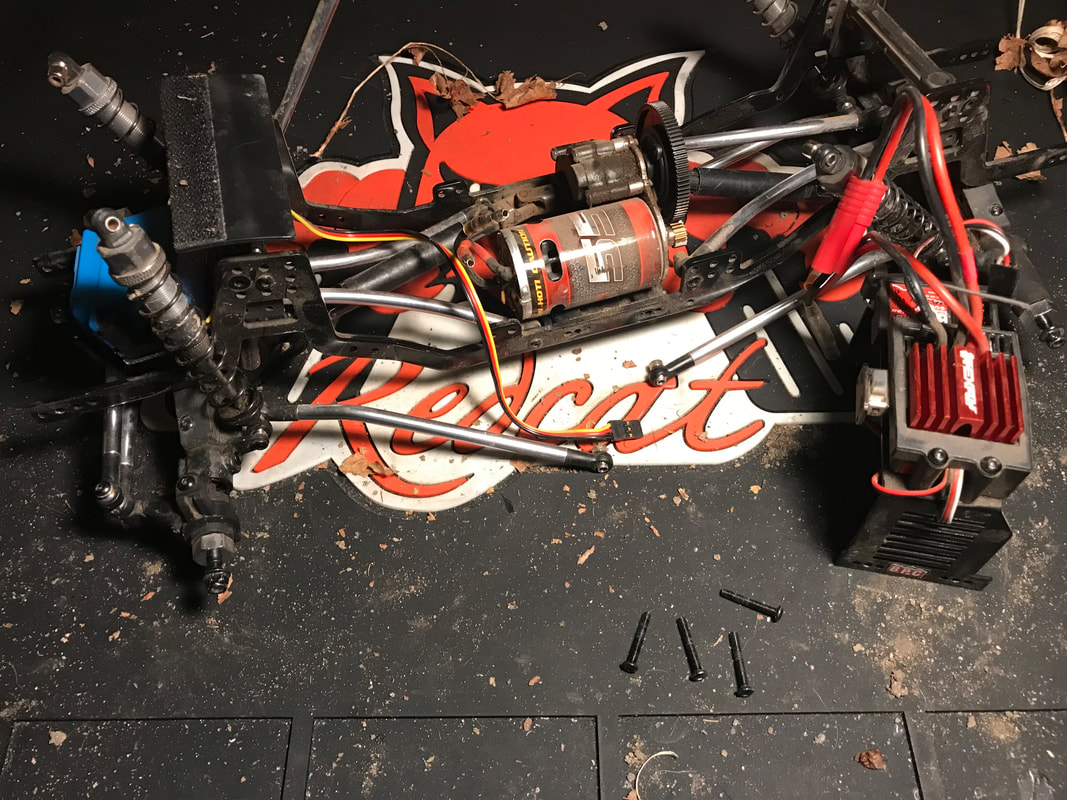
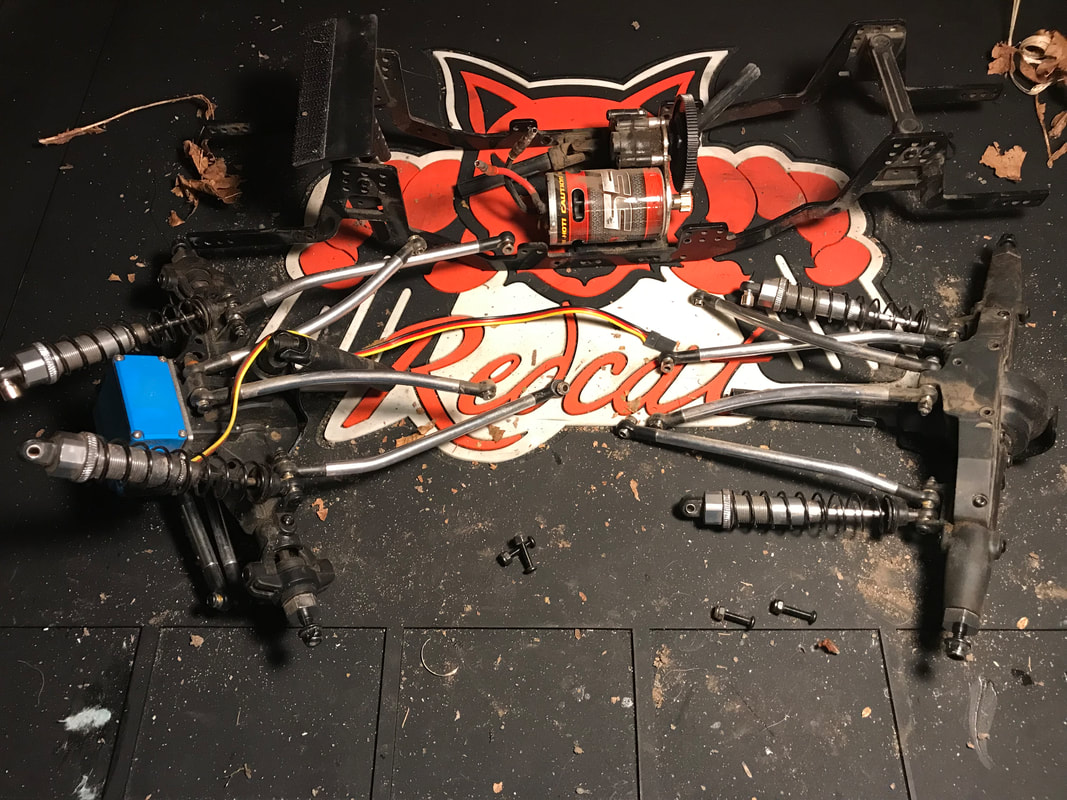
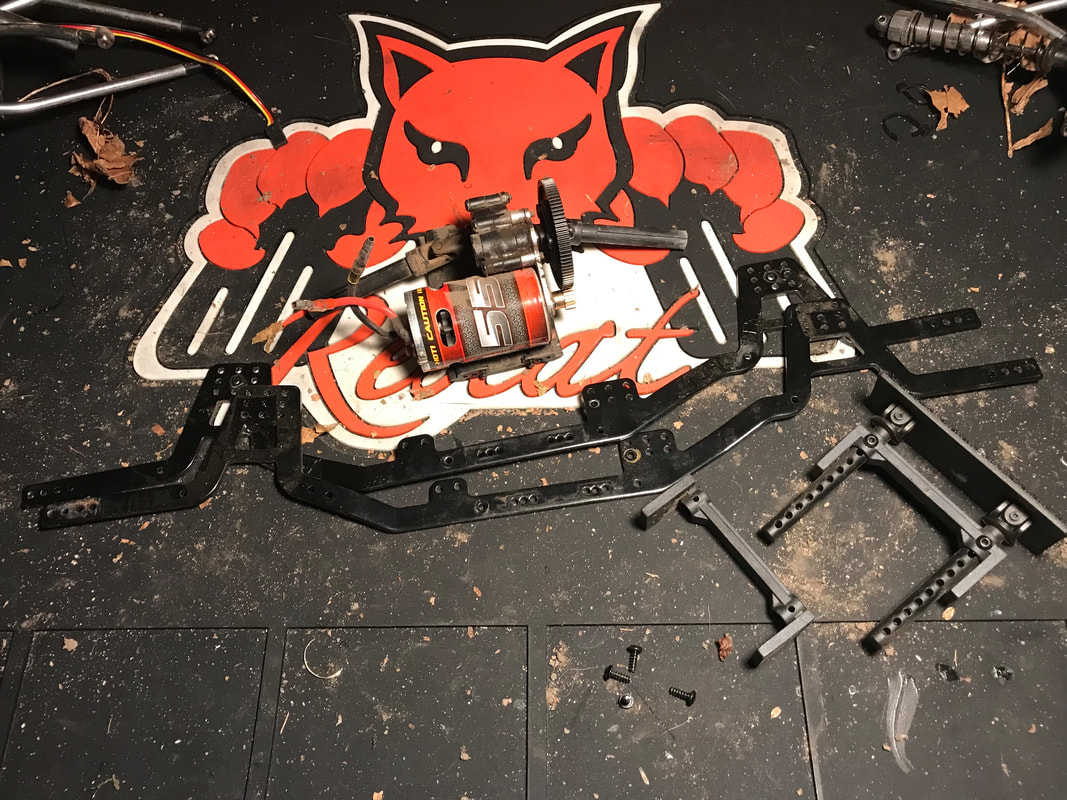
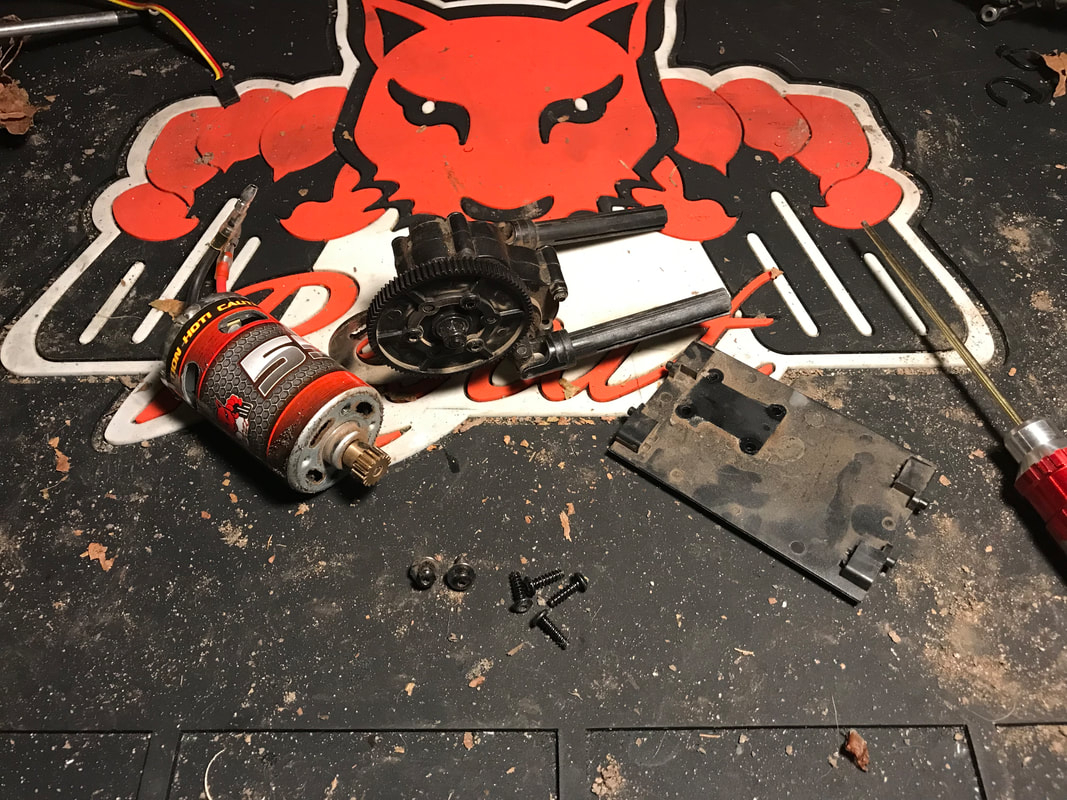
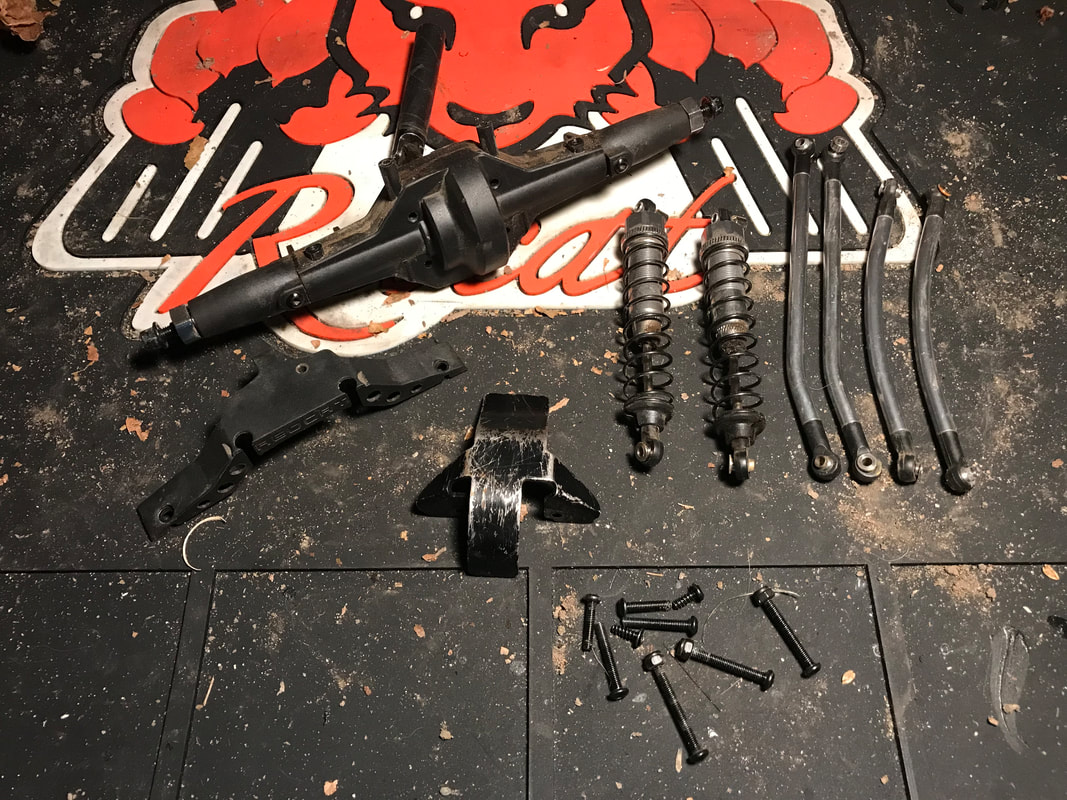
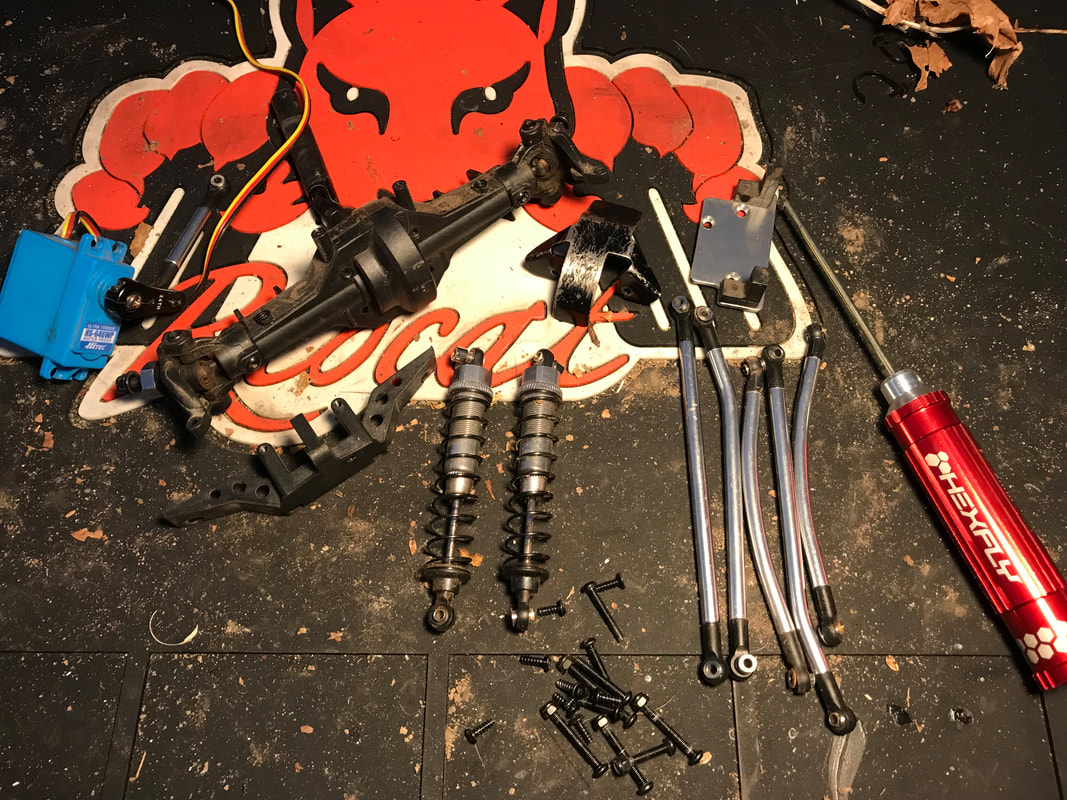
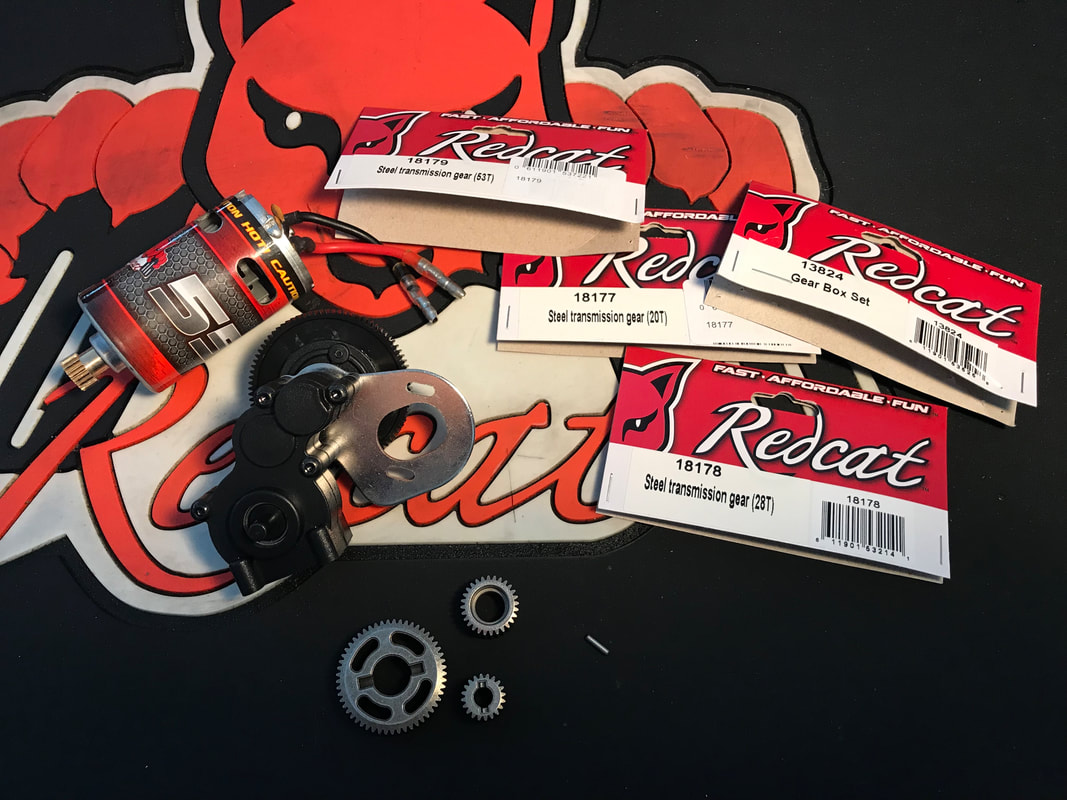
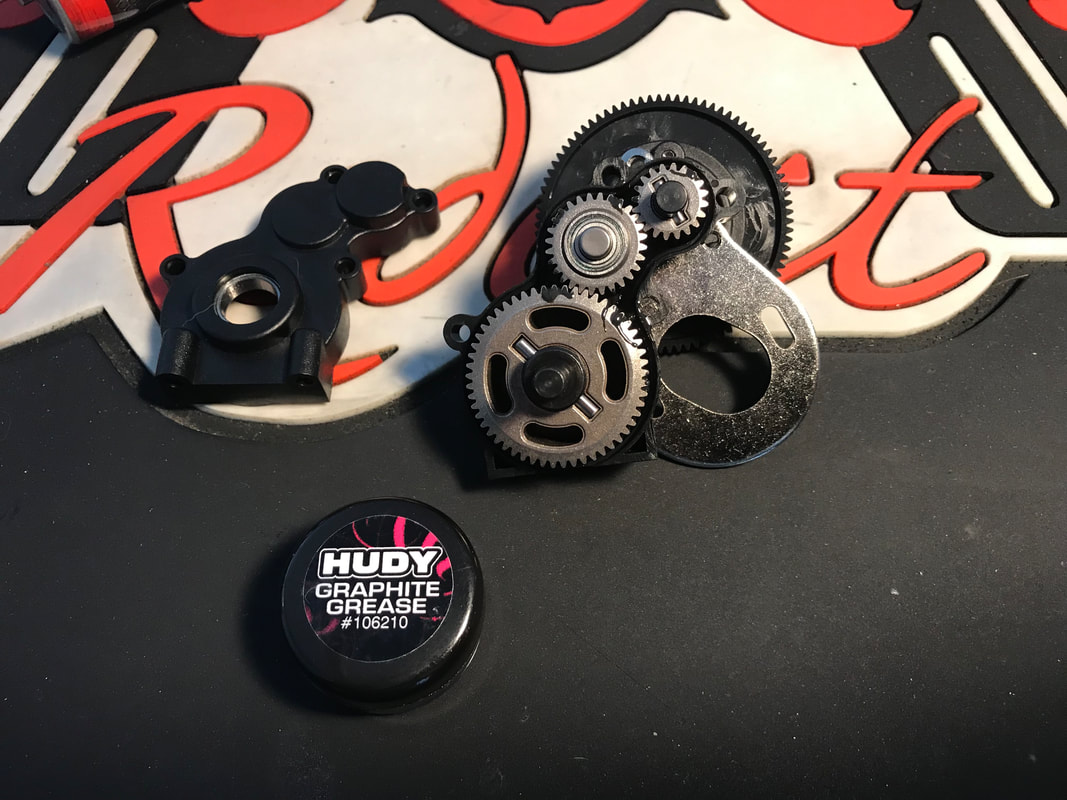
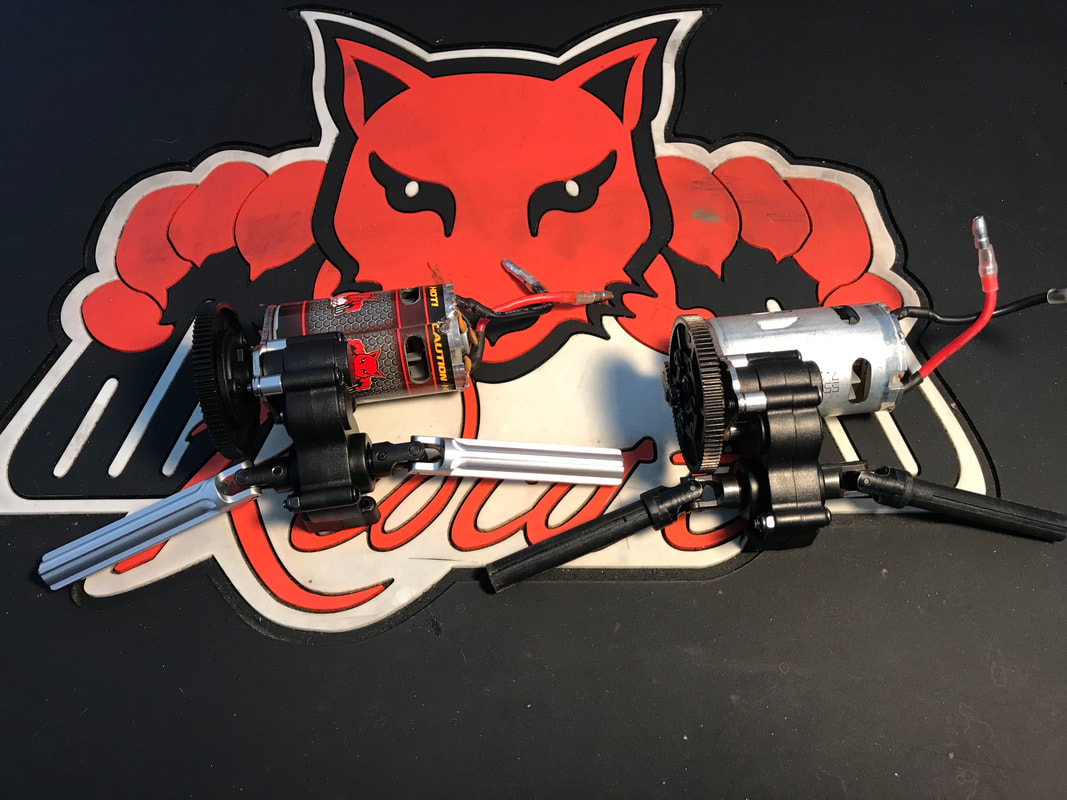
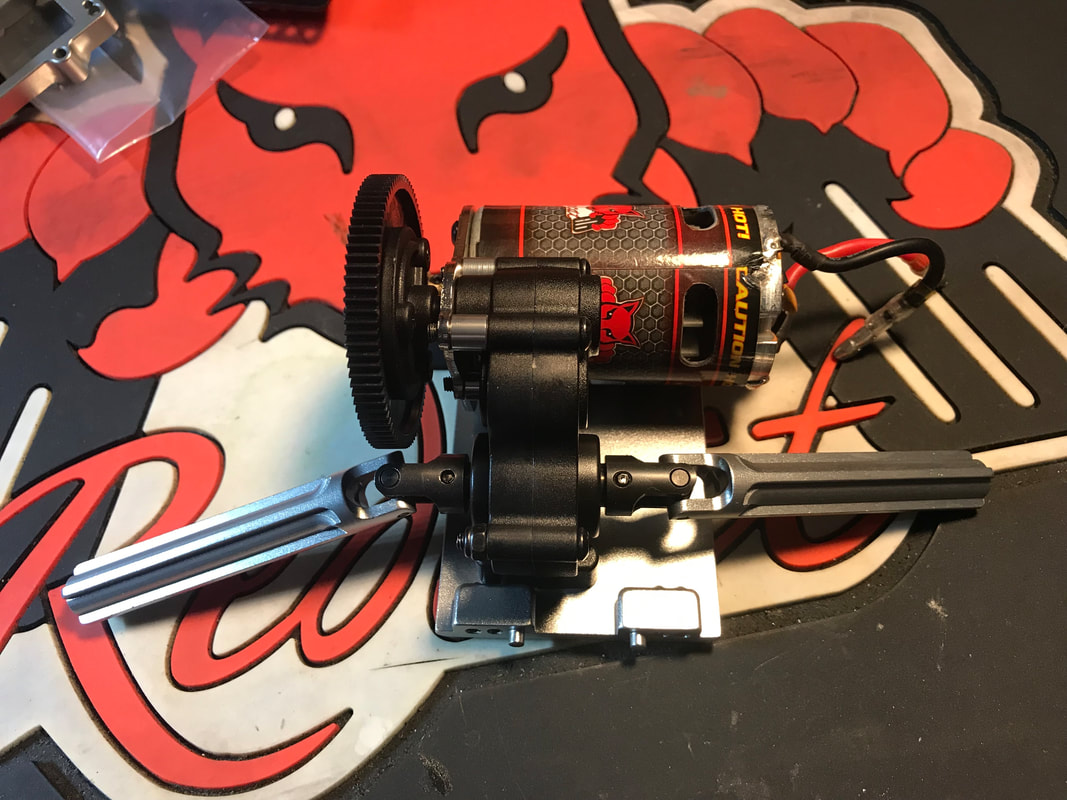
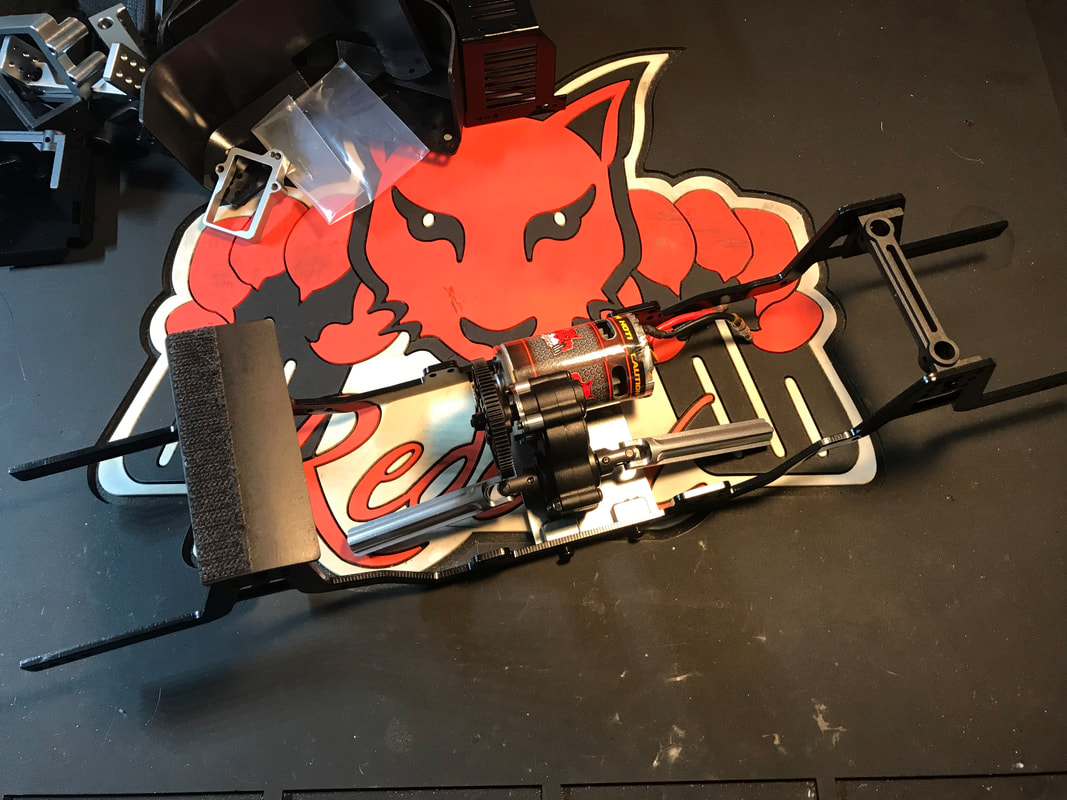
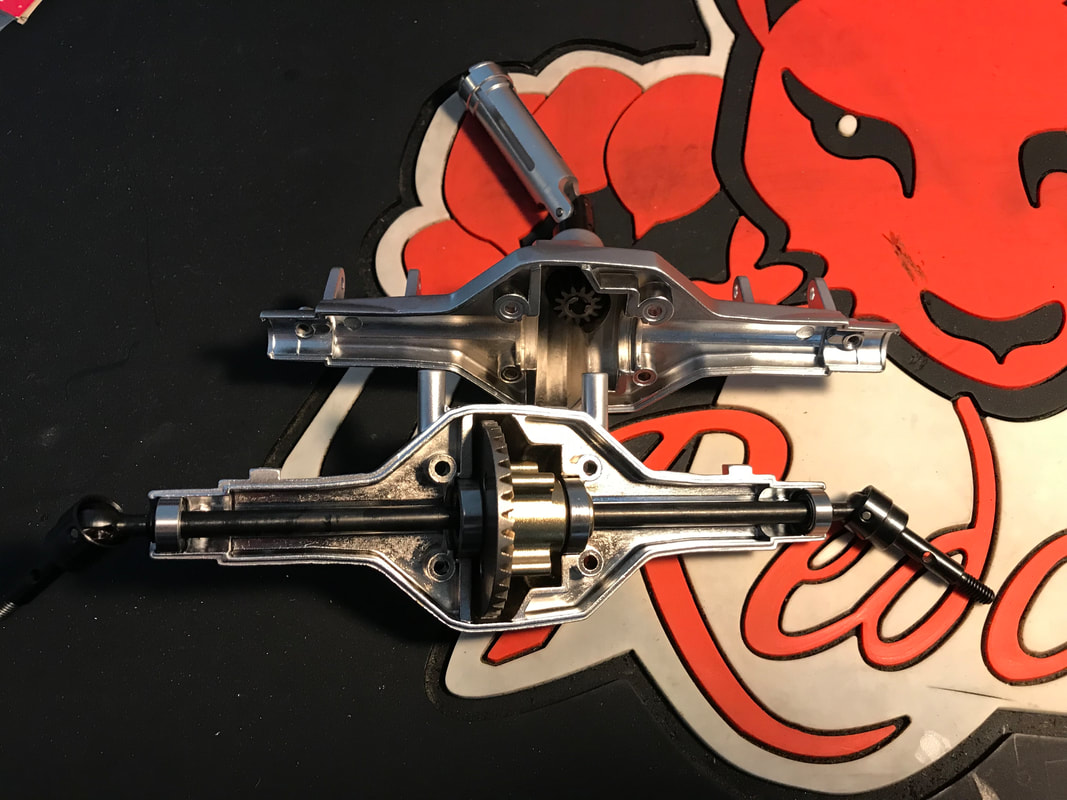
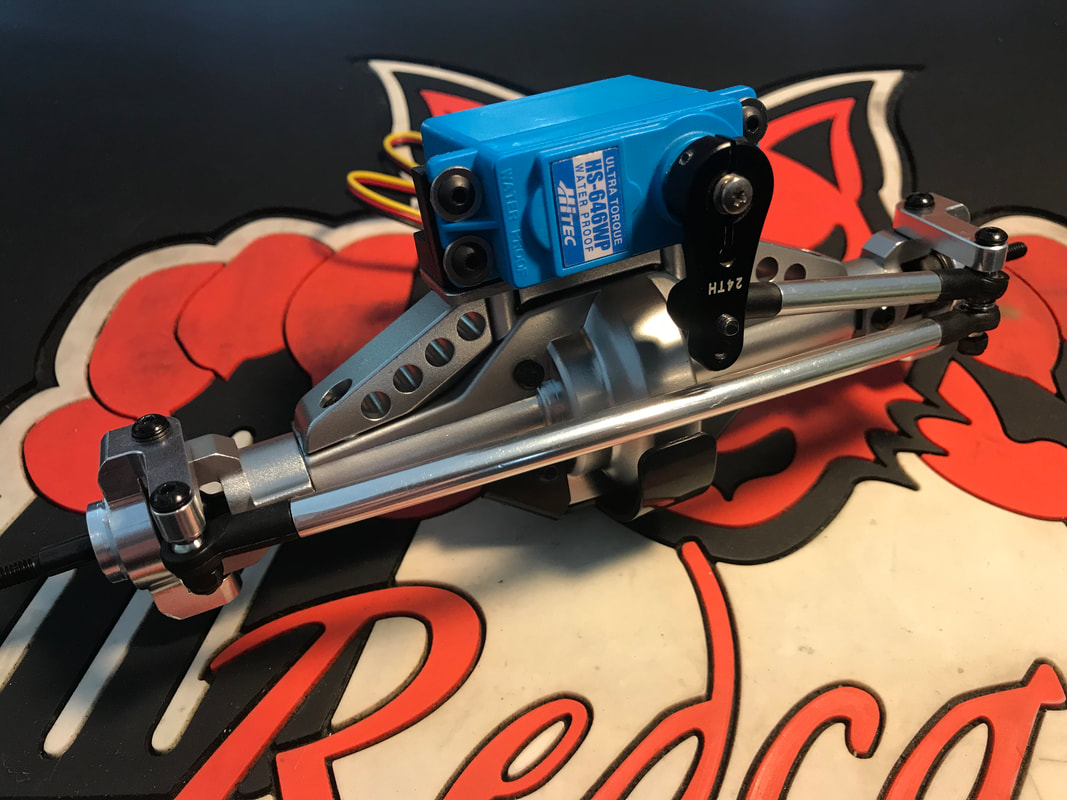
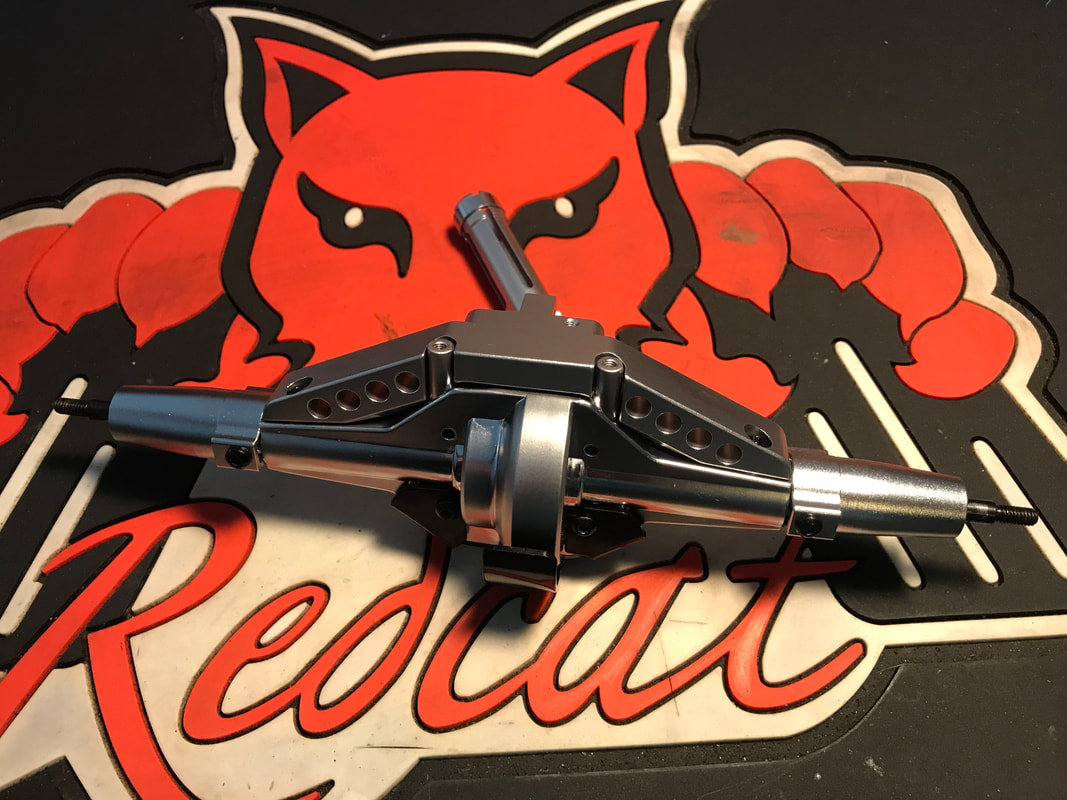
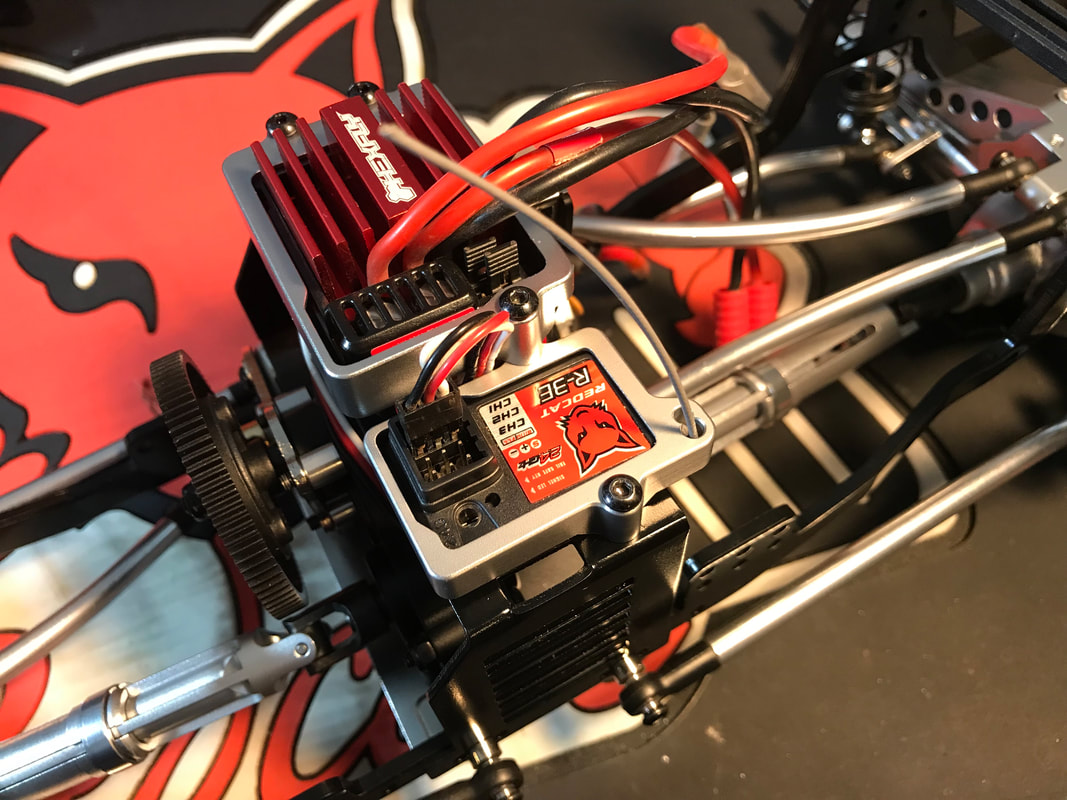
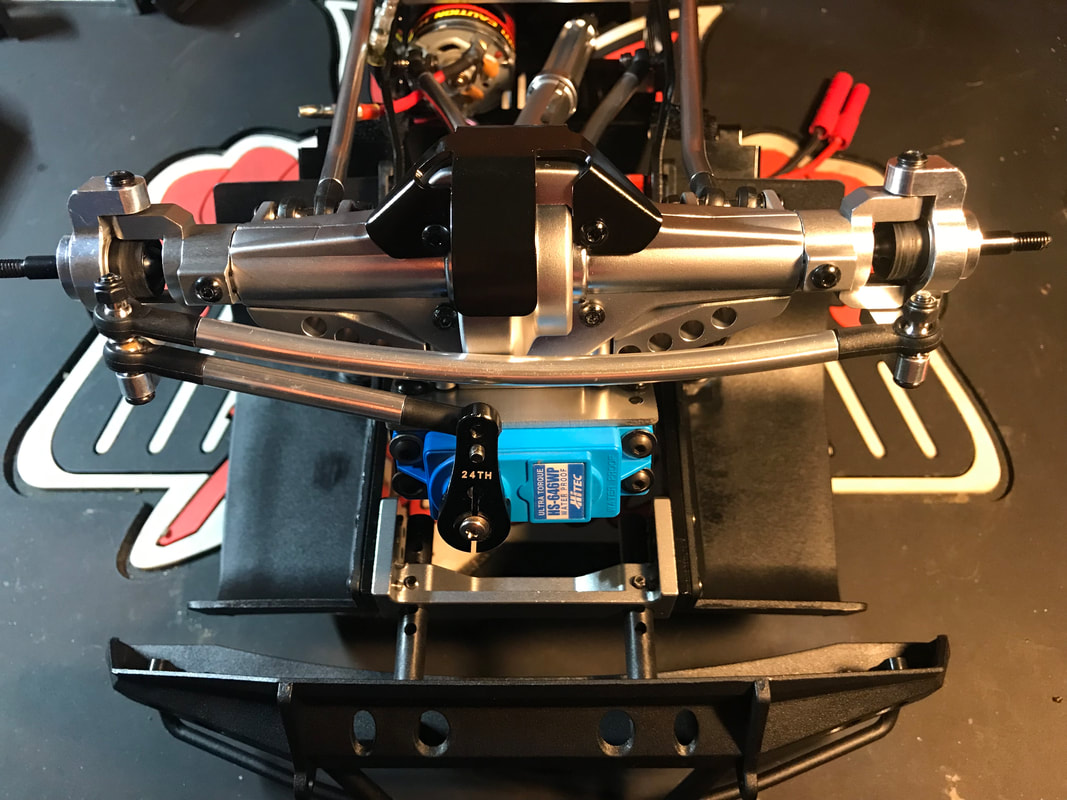
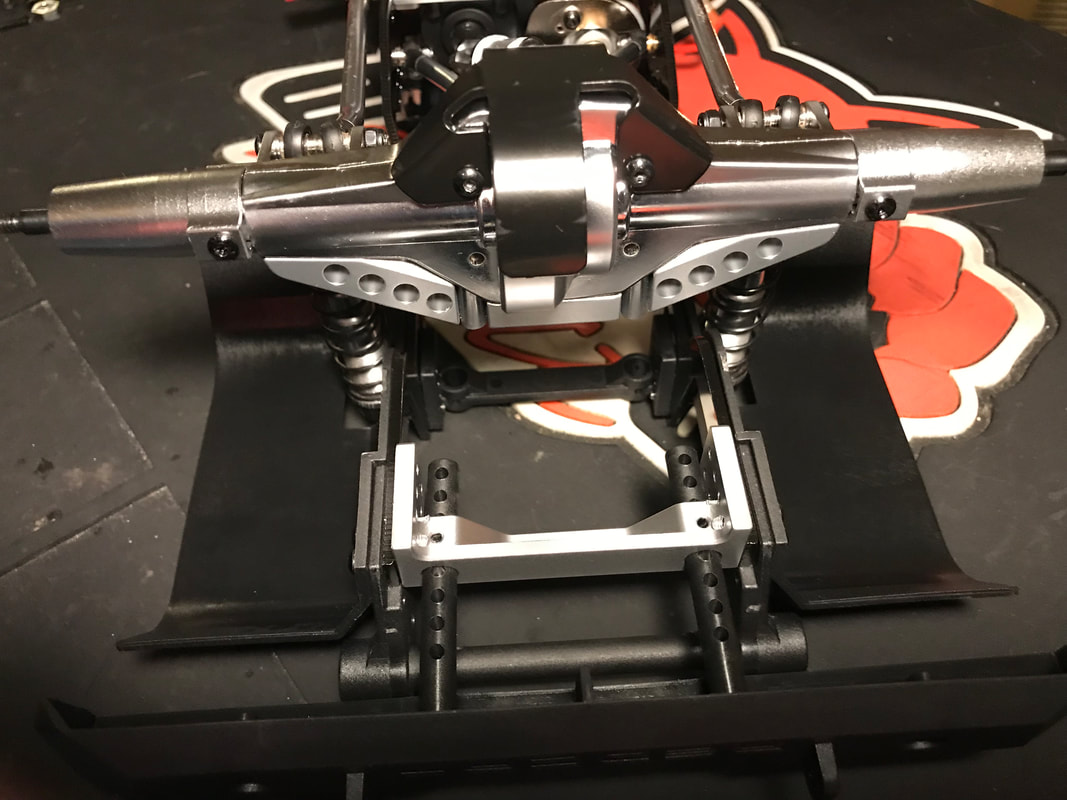
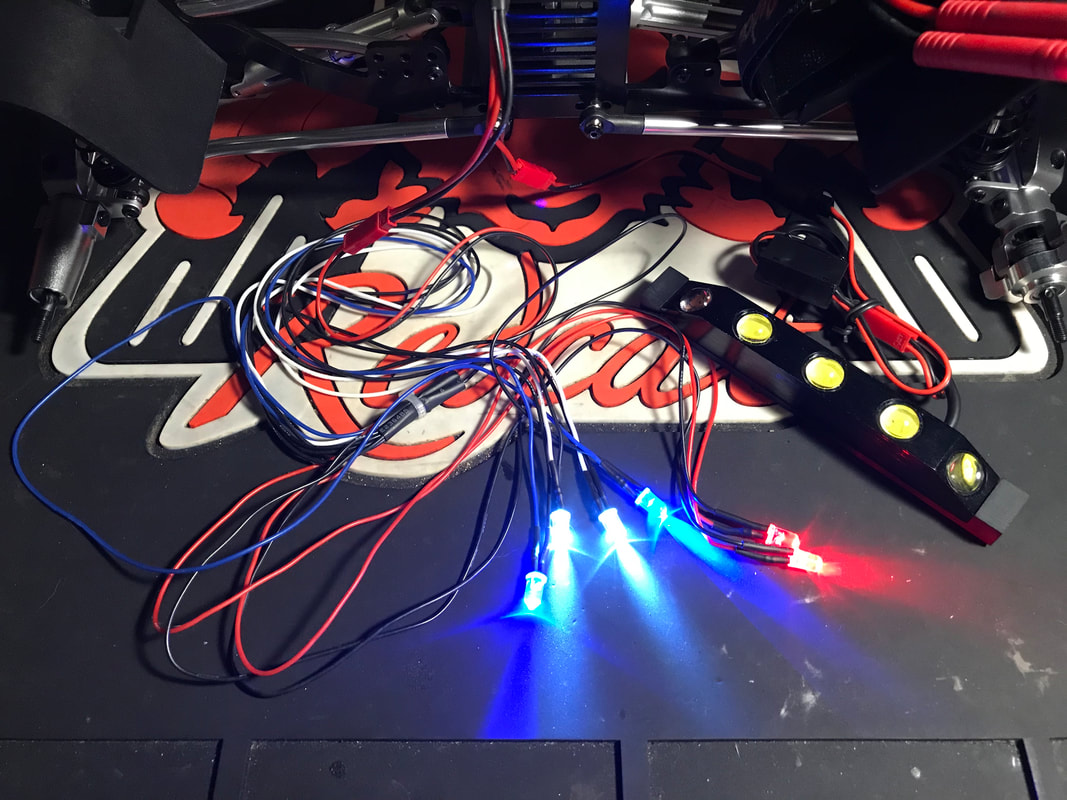
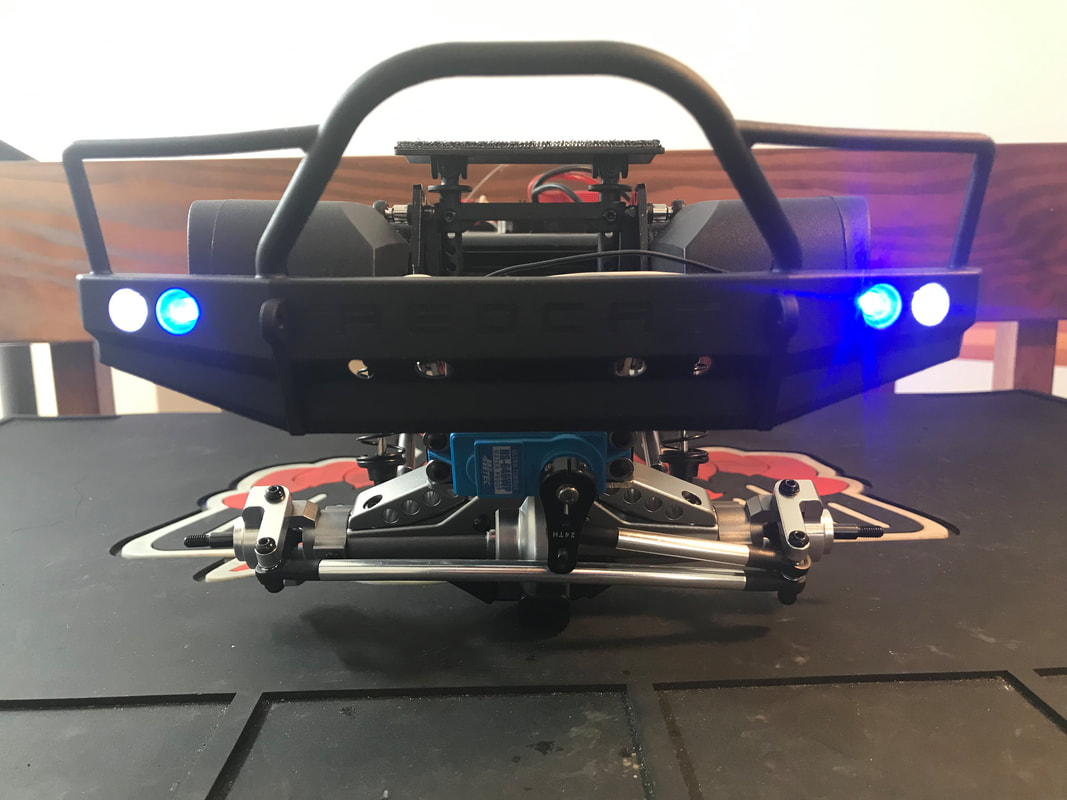
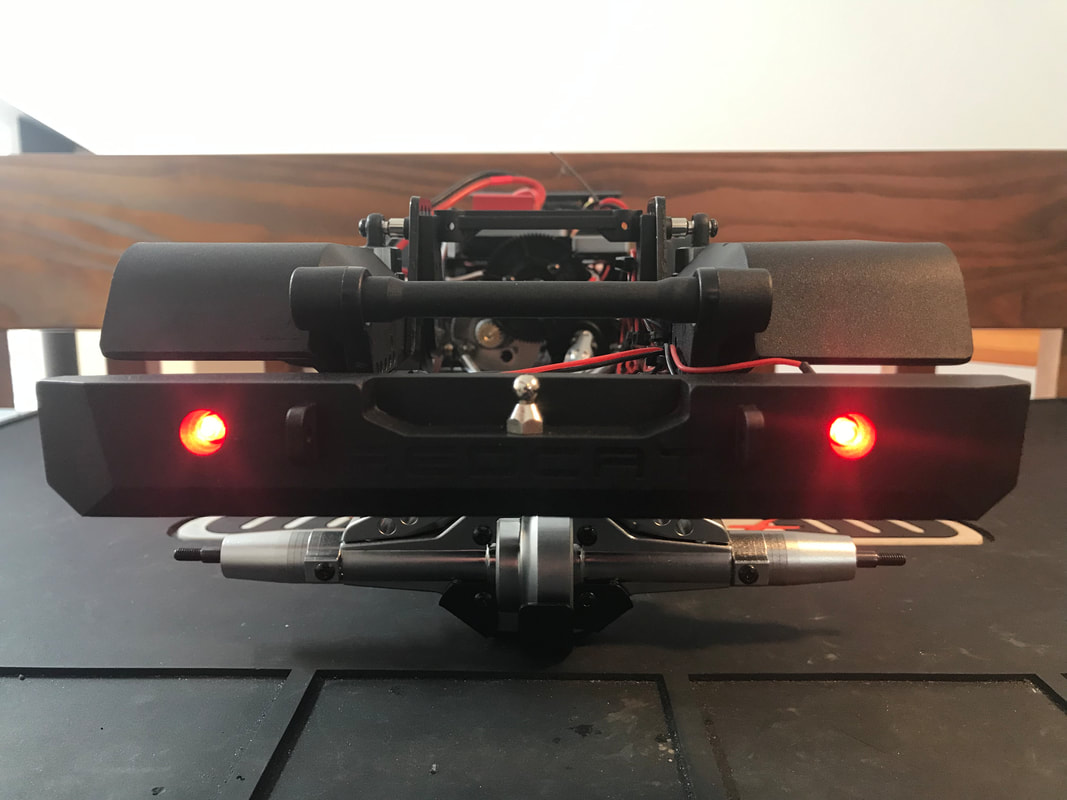
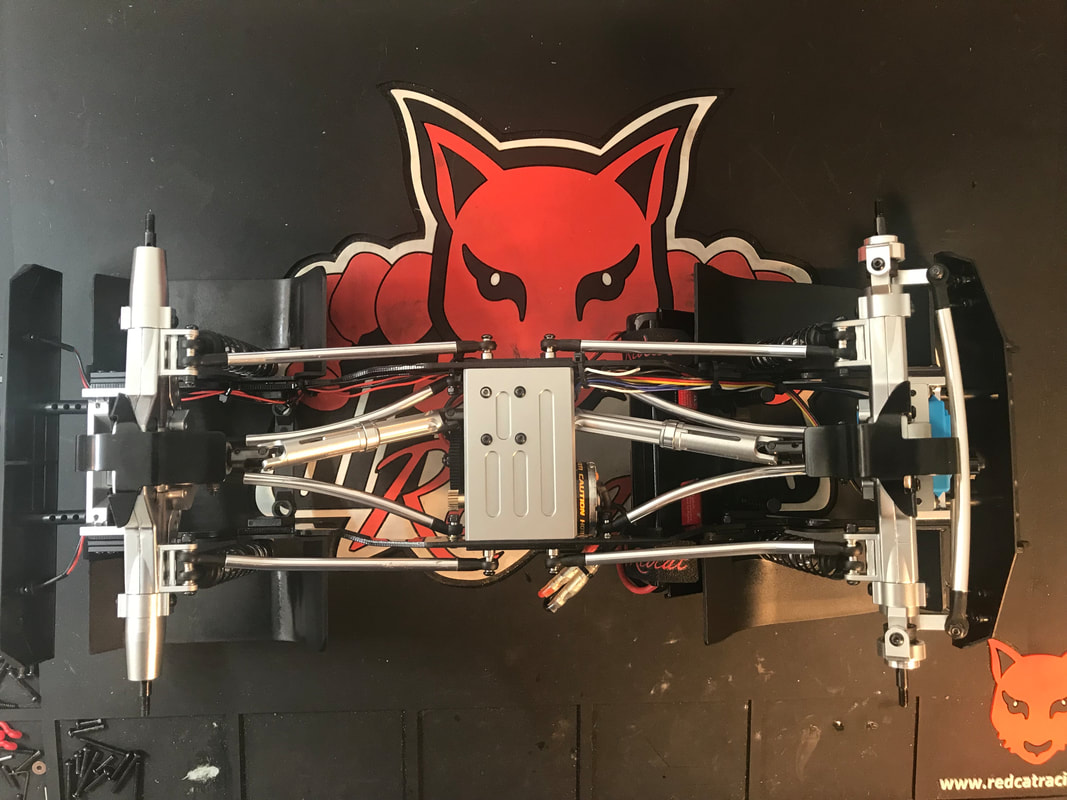
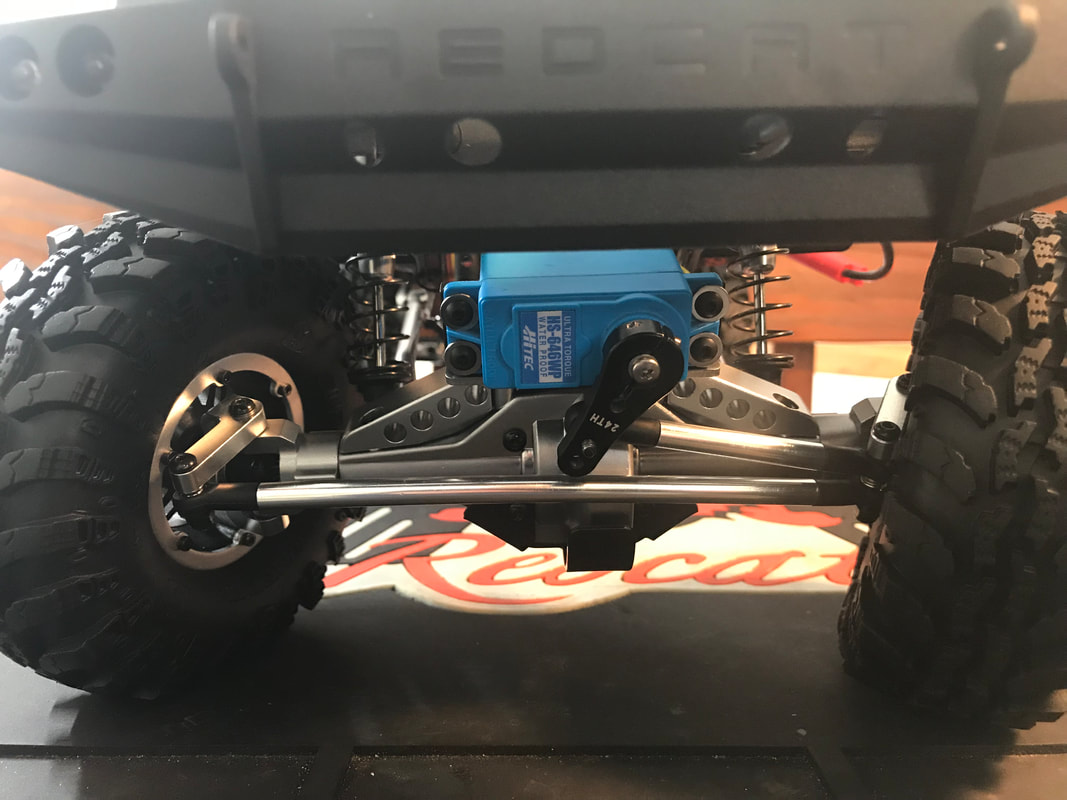
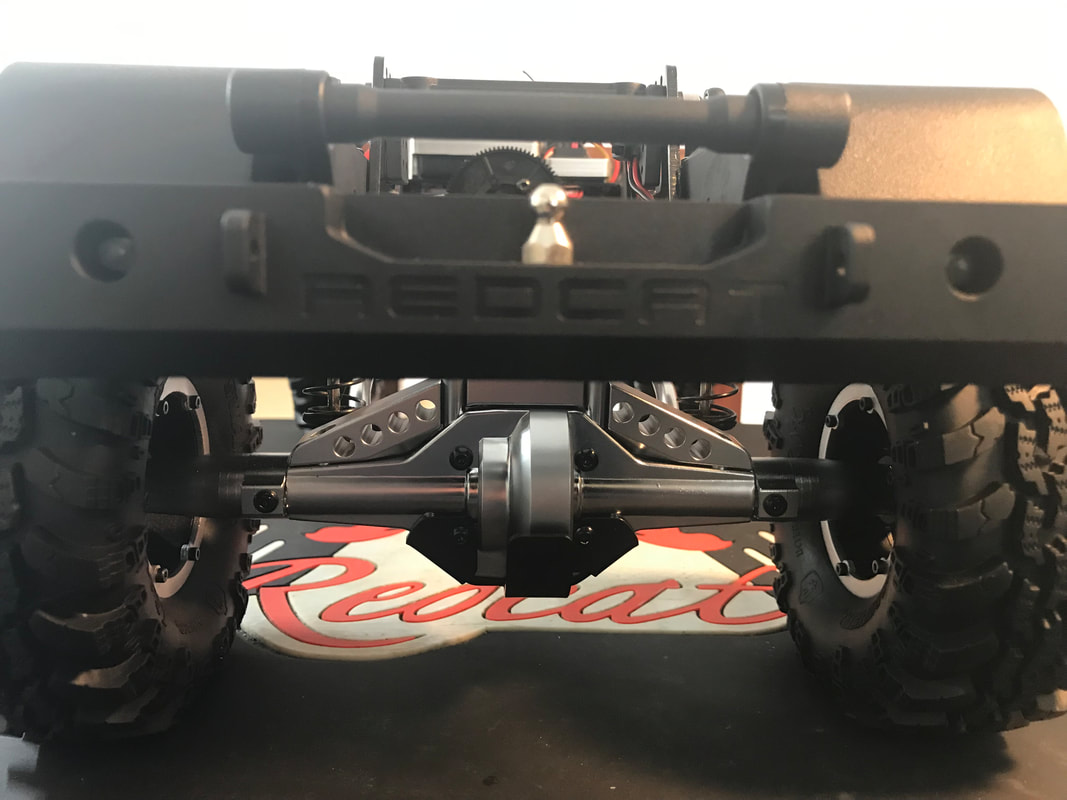
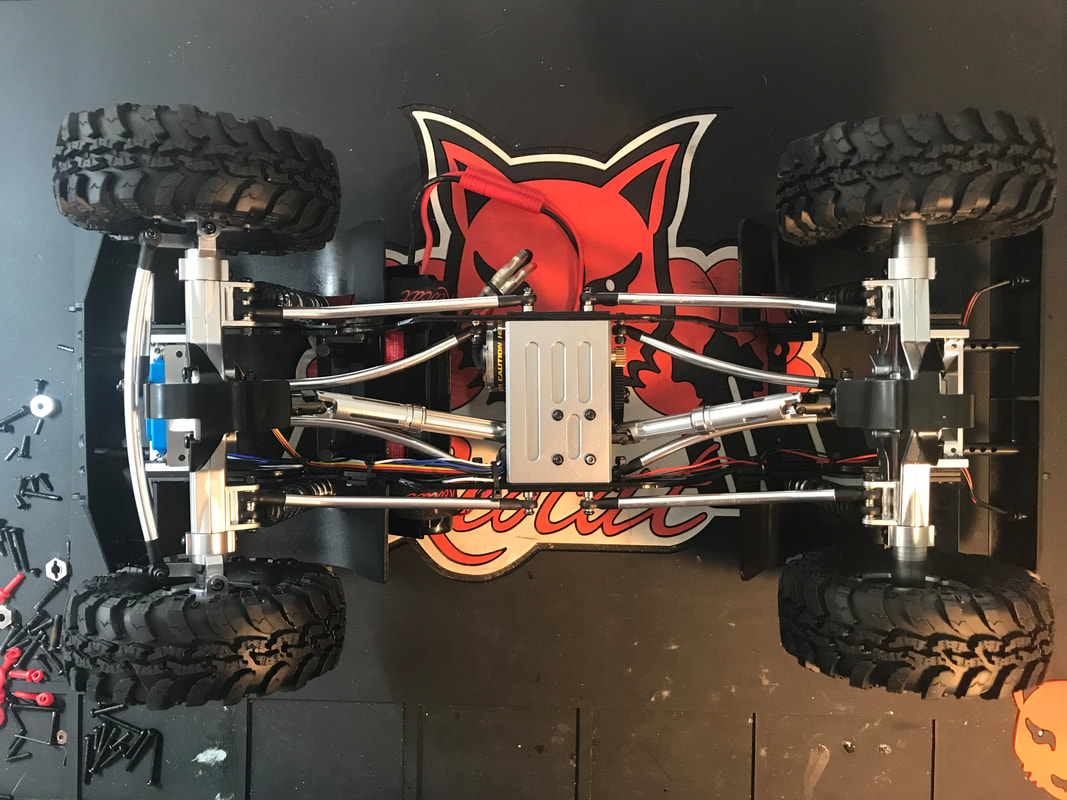
Let's get started... Current State of my Gen7 My truck is in a pretty sad state and although it's still functioning perfectly, it could use some TLC Removing body I used a 2mm hex driver to remove the four 3x12mm rear bumper mount screws (2 on each side) then lifted the body off. In retrospect, I could have just removed the two 3x20mm screws at the hinge Removing wheels A 7mm nut driver made quick work of the wheel removal. Yes...those are leaves wrapped around the front axle...so sad Removing bumpers 12 more screws and both the front and rear bumpers were removed and the mounts separated from the bumpers Inner Fenders Next up was removal of the inner fenders. I used a small box wrench to hold the nyloc nuts and my 2mm hex driver to remove the screws. I had to remove the upper shock mount screws to slide the inner fenders off. This step took a few minutes but it was easy enough. Remove ESC and Receiver Next, I grabbed my 2mm hex driver again and removed the four screws holding the ESC mount Remove front and rear axles Four more screws and both the front and rear axles were separated from the chassis Remove gear box Removing the front and rear body post mounts separated the chassis plates from the gear box Separate motor from gearbox I won't tear into the gearbox at this point. I'll wait until I have a clean work area before doing that. I'll be replacing the CVDs with the aluminum units when I reassemble everything Rear axle partial disassembly I partially disassembled the rear axle next. I'll give the assembly a thorough clean before putting it all back together with the aluminum axle housing, lockouts and axle truss Front axle partial disassembly Next up was the front axle. Once I clean up my work area, I'll put this back together with the aluminum axle housing and "high steering" setup Summary I'm embarrassed to admit that my Gen7 has had a pretty rough life. I literally pulled it out of the box and started running it. It's never really been serviced or maintained in any way. The truck has been a champ and the only change I've ever made to it was a servo upgrade (the stock servo died after a river crossing) I was happy to find zero broken parts during the disassembly. The shocks need to be rebuilt - or at least refilled with oil and at least half of the balls in the suspension links were seized. On to re-assembly... Gearbox New parts! I started with the center gear box and, call me crazy but I've decided to use a bunch of new parts during the rebuild I opened up a brand new Gear Box Set and installed the Steel Transmission Gears Steel transmission gears Here's a quick look at the steel transmission gears installed. I added a small amount of grease to the gears then buttoned it all back together Transmission complete On the left is the brand new transmission and the old one is on the right. For the new transmission, I added the 138007 aluminum center drive shafts but decided to use my old brushed motor for now. The old motor looks better than the new silver can motors. I may upgrade to a brushless system later. The old transmission cleaned up well. The CVDs are worn out but I'll keep using them for now. I should have added some grease to the CVD barrels and pins but I was feeling lazy so just left them dry. Oh well. Aluminum skid plate Here's a quick shot of the Aluminum Skid Plate installed under the new transmission Chassis side plates I loosely installed the new transmission and aluminum skid plate to the new chassis side rails next. The front and rear body post mounts help hold the chassis plates in place Aluminum front axle The front axles were next to be rebuilt. Once again, I decided to use all new parts. Pictured above are the following:I added some grease to the gears before screwing everything together Front axle all done I ran into a small issue when installing the c-hubs and spindles. They were too tight. The solution was simply to install one of the bushings on top of the c-hub rather than from the underside. Other than the servo and servo horn, all parts are brand new. I suppose I didn't have to disassemble the stock axle the way I did. Aluminum rear axle The rear axle went together quickly and easily. I decided to re-use the internals from my old truck rather than install brand new ones. The original pieces still looked like new so I figured I'd save a few bucks and not replace them. Quick tip, if you decide to build an aluminum rear axle on your Gen7, be sure to pick up some 13832 3x8mm Pan Head Screws. You'll need them to install the lockouts Aluminum ESC / receiver cover Slowly but surely, the truck is coming together. Here you can see that I reinstalled the stock electronics. I used the aluminum ESC / receiver cover to secure them to the new ESC mount Ront axle installation Here's a shot from the bottom of the truck. You can see all of the brand new parts and upgrades. I have some LED lights for the front bumper but I'll leave them to the end of the project Rear axle installation Here's the bottom side of the aluminum rear axle installed. Once again, pretty much everything in the rear of the truck is brand new parts. I reused the shocks and rear lower links because they were still in near perfect condition LED light time I'm going to add some Team Redcat LED lights. This set (HX-LED-003M1) includes six LED lights, two white and two blue for the front bumper and two red for the rear bumper Front LED lights installed Here's how the front LED lights look. They are surprisingly bright Rear LED lights installed And here's the rear LED lights. Perfect fit LED light wire routing Here's the bottom view of the chassis so you can see the routing of the LED light wires. I secured them to the chassis rail with small wire tires That's all the time I have for today. Be sure to check back again soon for more updates on my Gen7 project
'till next time. Rob By the way, if you like this project, please help me out by buying your Gen7 Parts & Upgrades from me and by using my Amazon links whenever you make a purchase on Amazon - they'll pay me a small commission
Brandon Garrett
12/10/2020 08:22:25 am
Is there a YouTube video to go along with this?
kody tyler
5/31/2021 11:50:39 am
Is there a better esc and motor upgrade for the gen 7 sport/pro to give it more speed and power ?
HUH?
6/7/2022 11:08:22 pm
More SPEED? It's a crawler..... Comments are closed.
|
TOP Categories |
information |
resources |
|
|
© www.teamredcatshop.com All rights reserved

