|
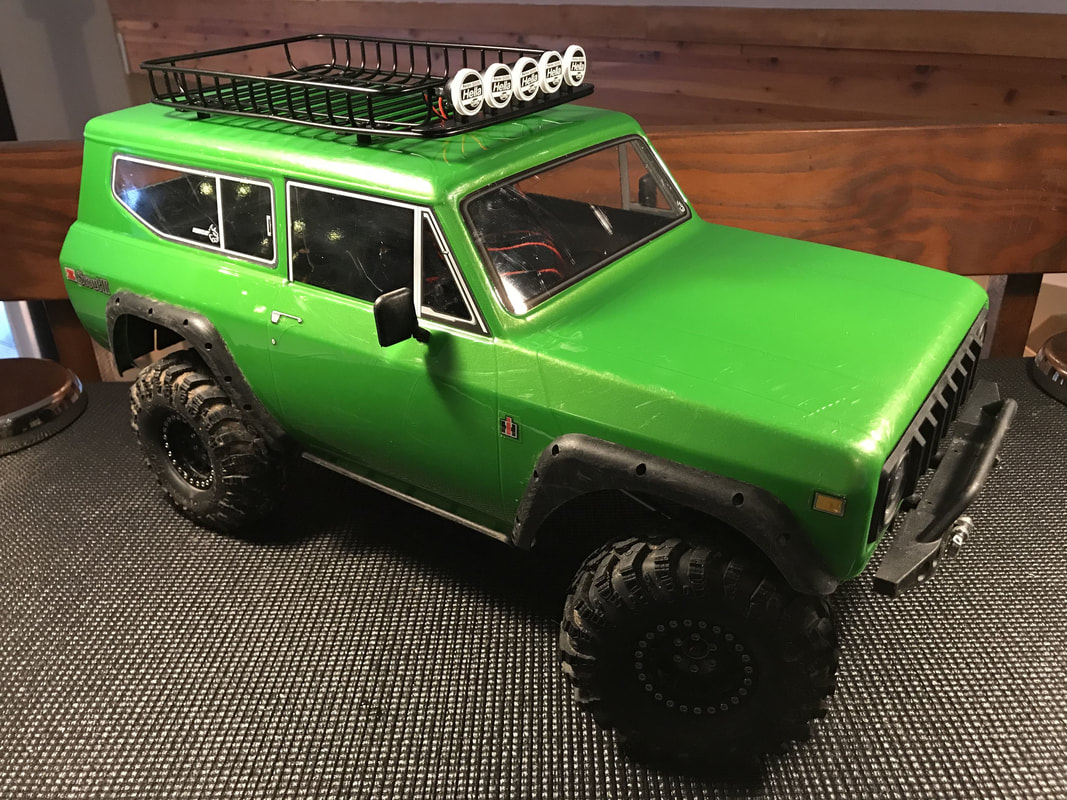
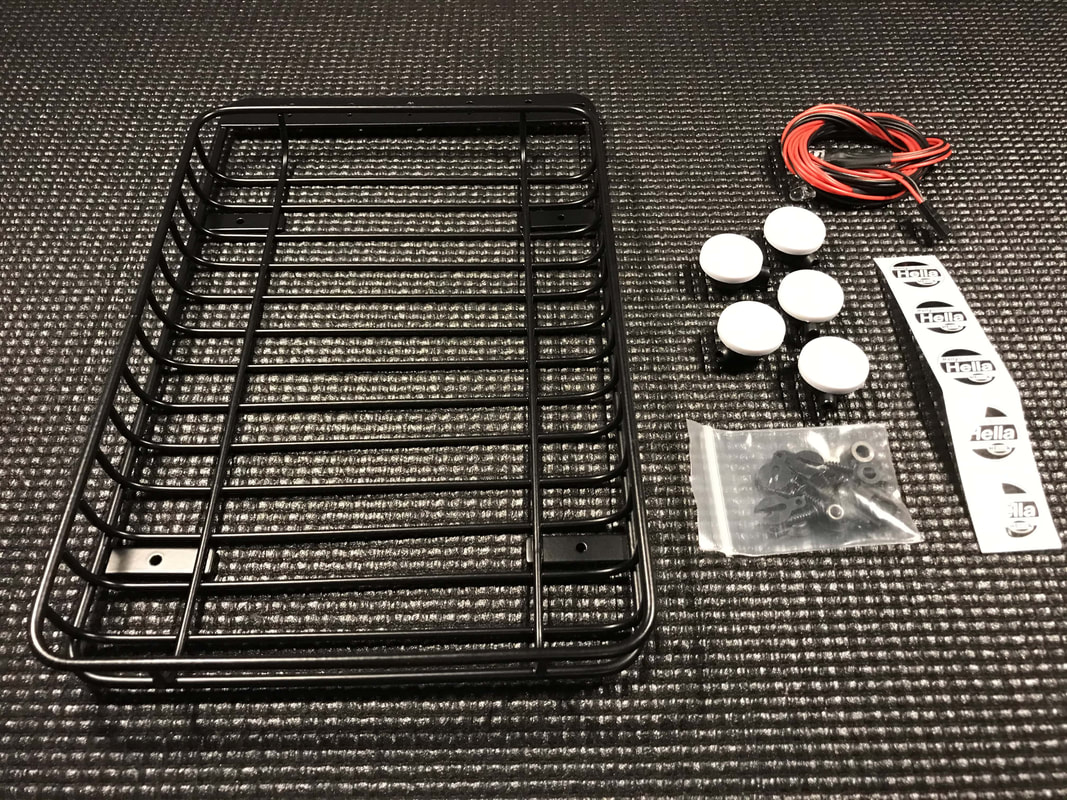
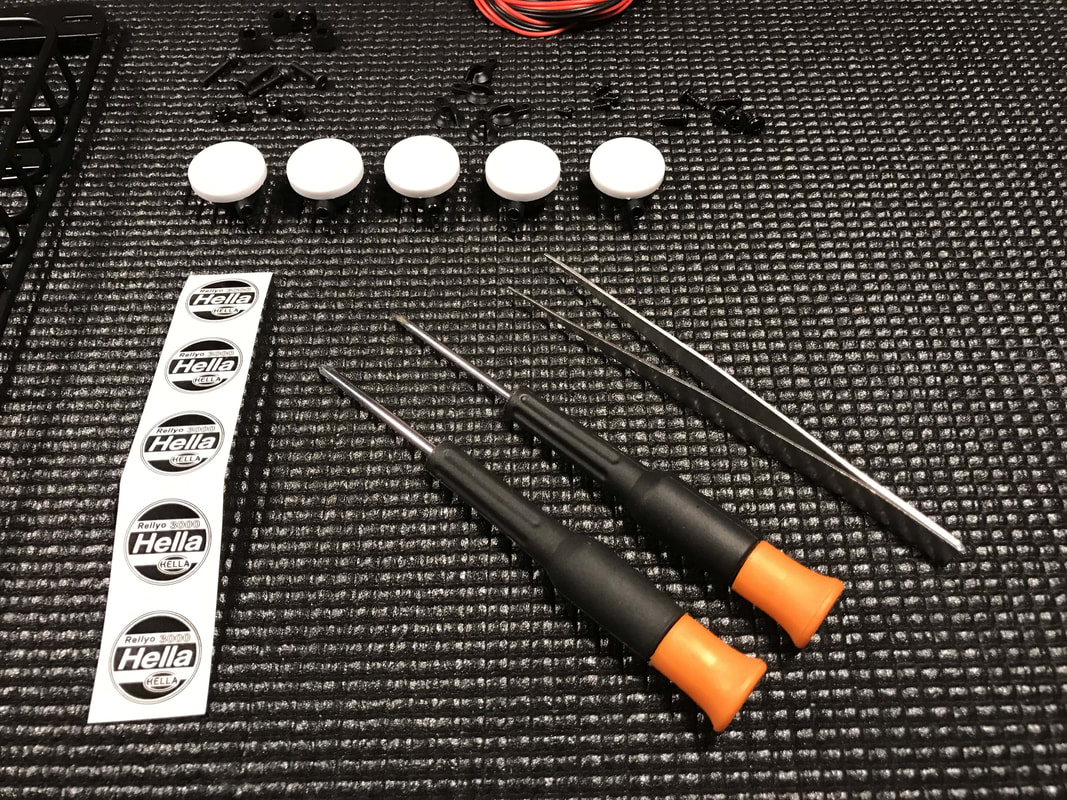
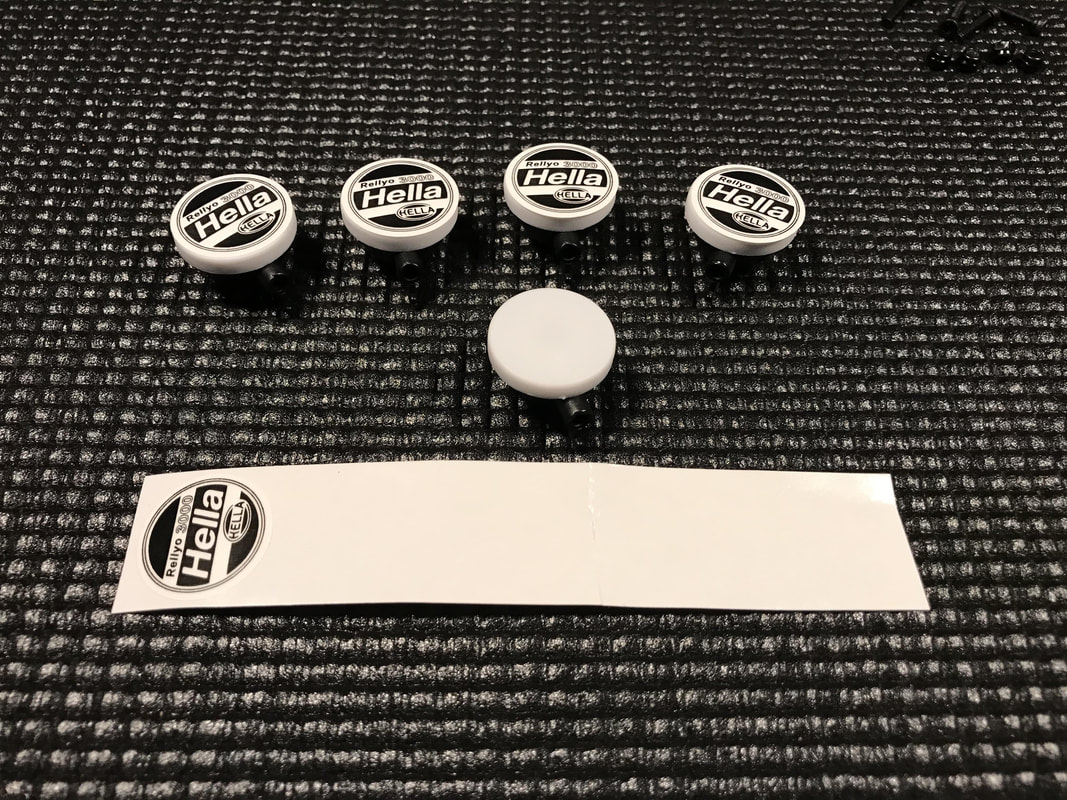
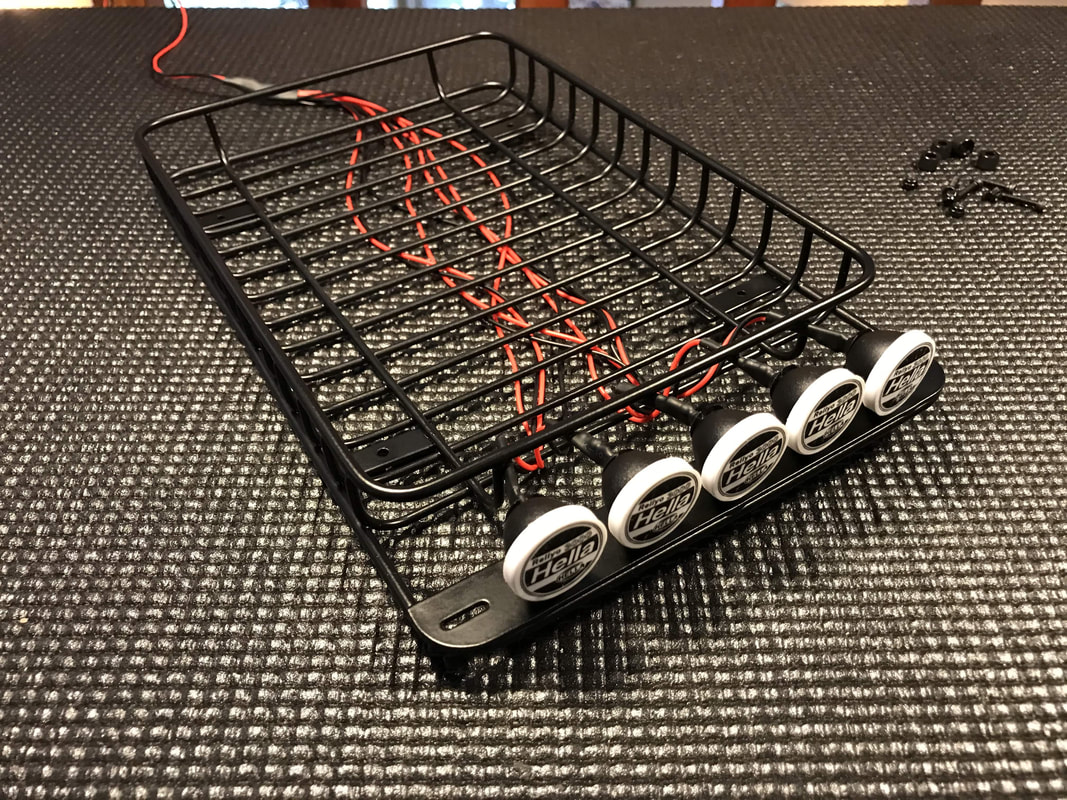
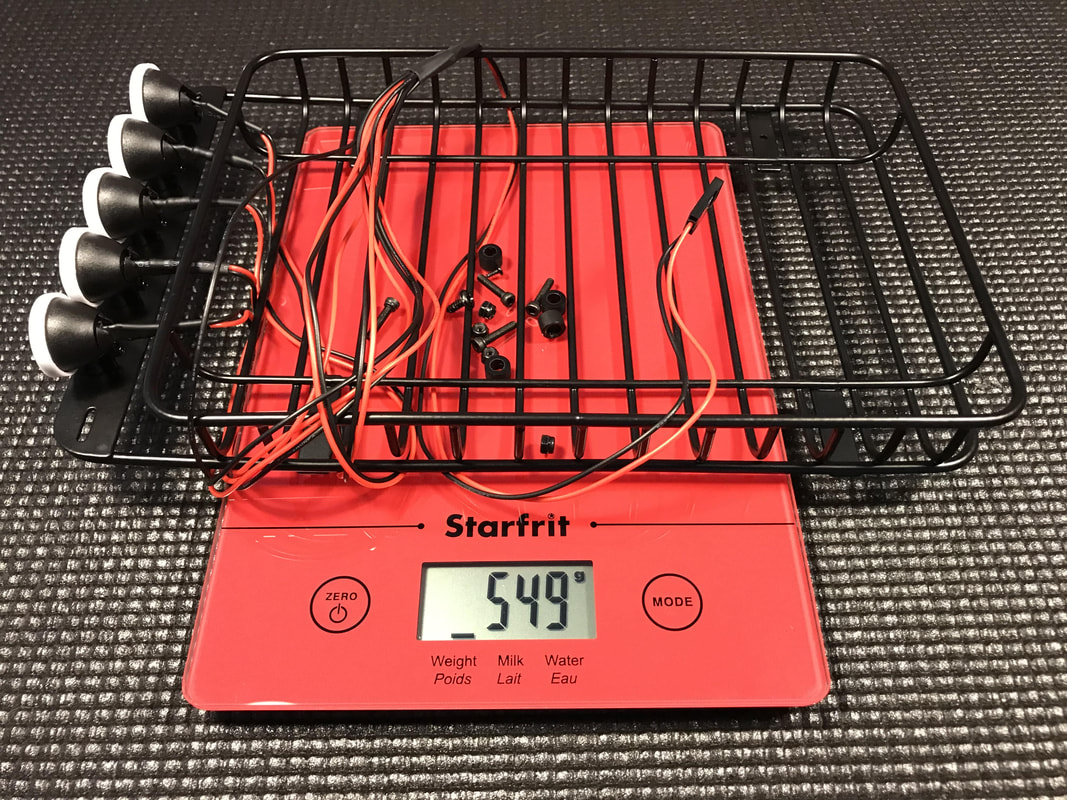
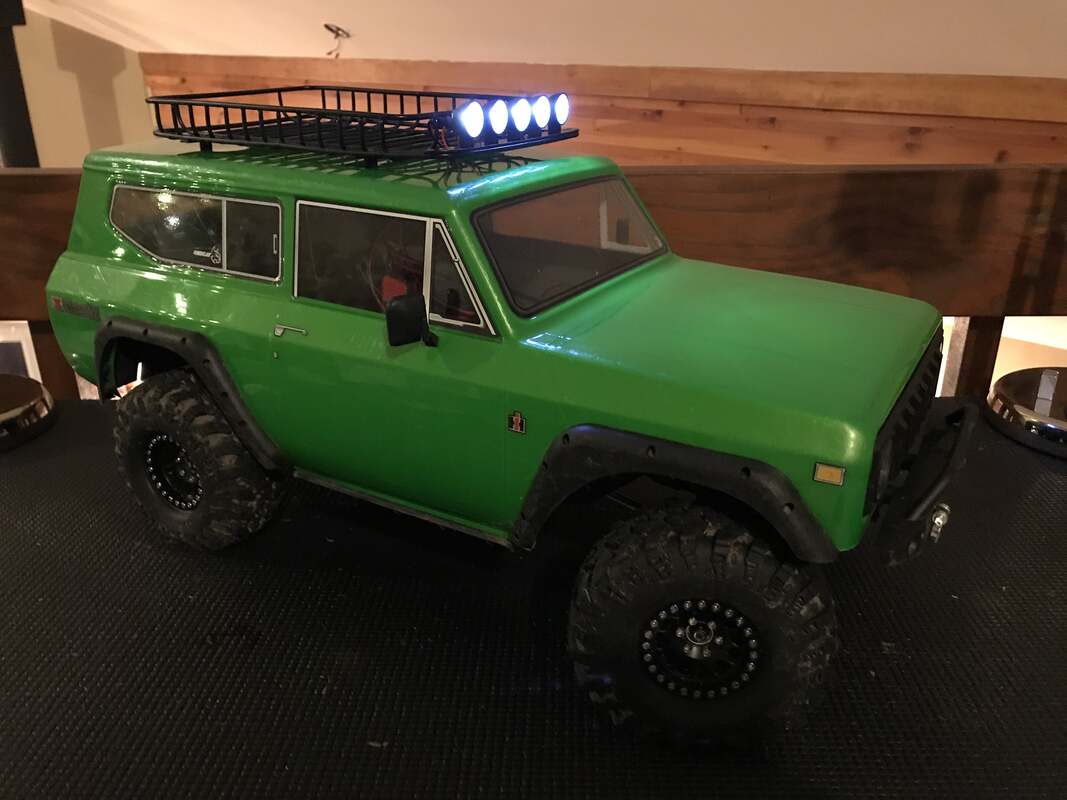
One of the things my son has been asking for lately is a roof rack for his Gen8 V2 so I decided to order this one for him from Amazon. With so many different options, it was a bit of a tough choice as to what rack to purchase. I considered going with a plastic Axial rack to keep the weight down but when I found this metal one complete with "Hella" LED lights, for cheap, I decided to pull the trigger on it. The installation was pretty easy. In fact, I let my son complete the entire install with just a little help from me. Here's how the project went... The roof rack comes with five LED lights, light covers, Hella stickers, and mounting hardware. Depending on how you want to power your LED lights, you may want to pick up a "Y" adapter from Amazon. I added a 11417 wire extension to the inside of the receiver box to tidy things up and make it quick and easy to disconnect the LED lights from the chassis You'll need some small jeweler's screwdrivers for the LED light mounting hardware (the screws are phillips head). I offered my son some tweezers to help with the sticker installation but he just used his fingers We started by adding the stickers to the light covers. Something tells me these are not licensed but I thought these looked cool so that's why I chose this rack and light bar set. These light covers are removable. You can clip them on or off depending on what look you are going for. Once the stickers where installed, the next step was to add the LED lights to the light buckets using the included clips and hardware. My son then used the included screws to mount the light buckets to the roof rack. This setup is heavy - almost 550 grams!. Installing it will negatively effect how well your truck will climb and side hill but for my son, this is not important. He primarily uses his truck on trails and his crawling style is closer to bashing than technical rock crawling so having the truck look the way he'd like is more important than ultimate performance. Adding the 11417 wire extensions will make it easy to disconnect the lights whenever needed. In my opinion, this is also a cleaner installation than using a Y harness but that's another easy option if you'd prefer to go that route. Here's how the truck looks with the power on. Pretty cool if you ask me.
We may experiment with removing the little risers under to roof rack but for now, I think this project is done. 'till next time, have fun Rob By the way, here are some other Gen8 posts that you may like: Gen8 V2 Project Part 1 - Wheels Gen8 V2 Project Part 2 - Magnet Body Mounts Gen8 V2 Project Part 3 - Bumpers Gen8 AXE Project Part 1 - Injora Aluminum Wheels Gen8 AXE Project Part 2 - Brass Wheel Hexes Gen8 AXE Project Part 3 - Brass Lower Link Mounts Comments are closed.
|
TOP Categories |
information |
resources |
|
|
© www.teamredcatshop.com All rights reserved

