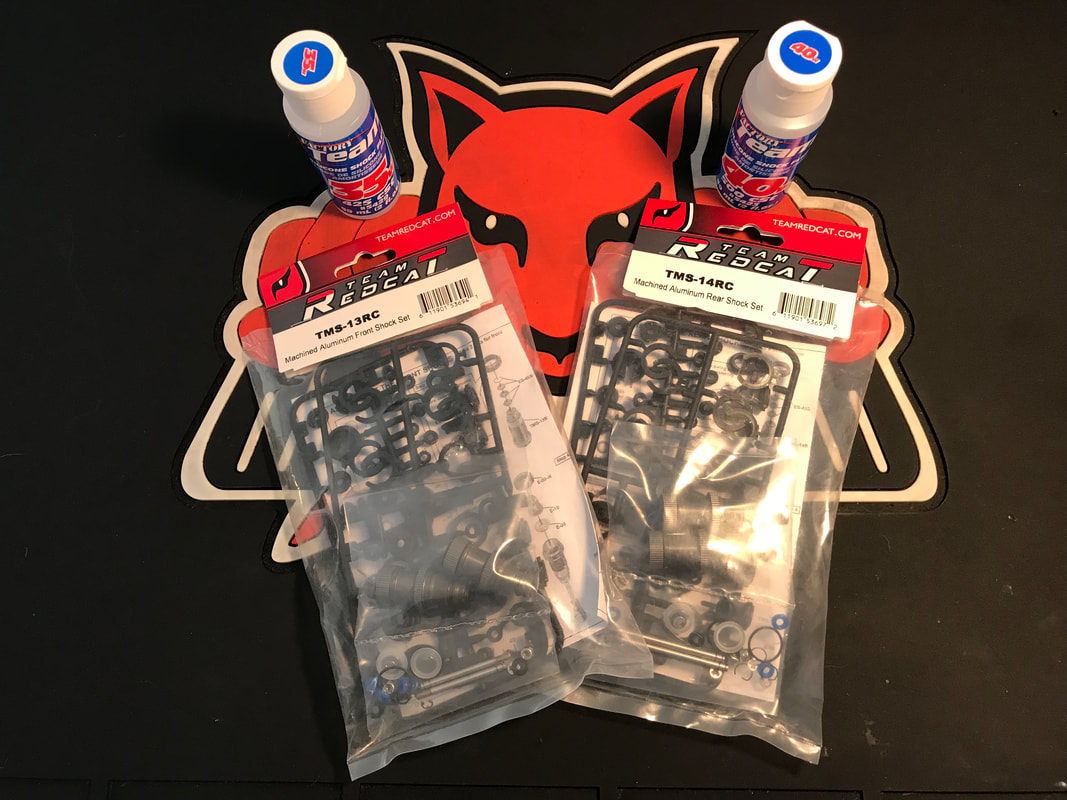
 Other than high quality tires, well built shocks make some of the biggest improvement to a vehicle's handling characteristics. That is why I decided to upgrade my TR-SC10E to the aluminum shocks. The stock shocks work well and I've never had a problem with them but these aluminum bodied shocks look great and have threaded collars that will allow me to fine tune my truck's ride hight. Here's what I'll be using:
Let's get started... 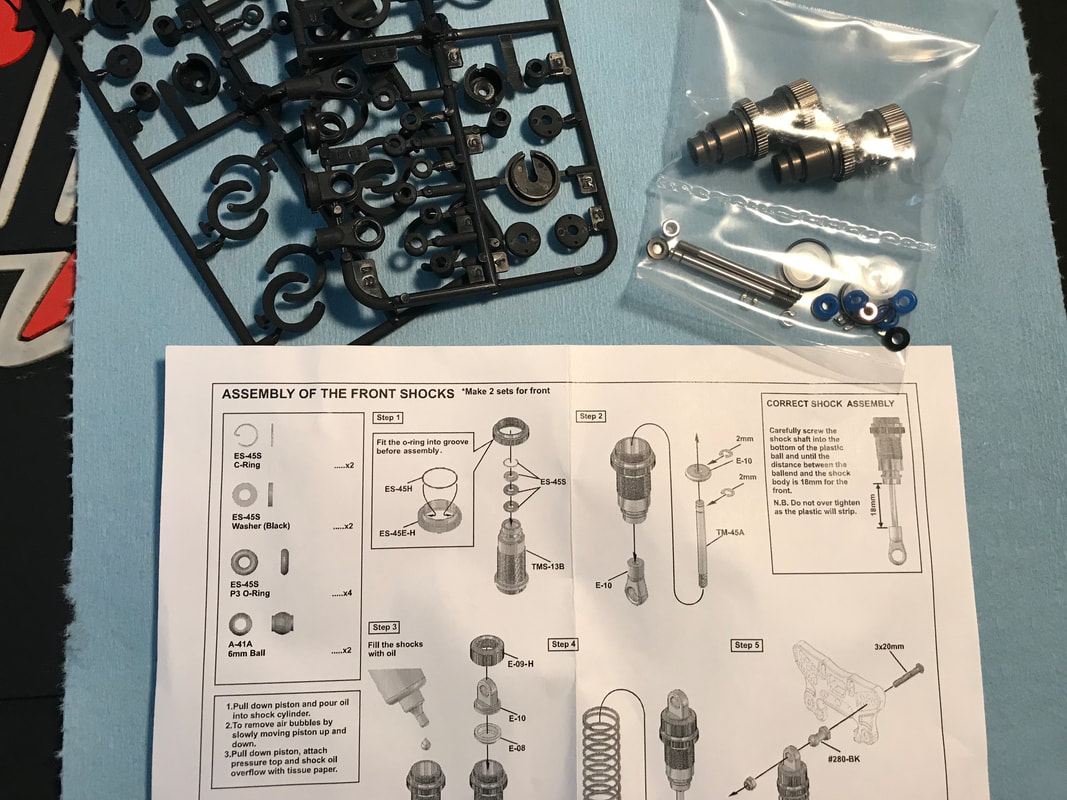 I started the build with the front shocks. The instructions included with the shocks are great so this should be relatively straight forward. 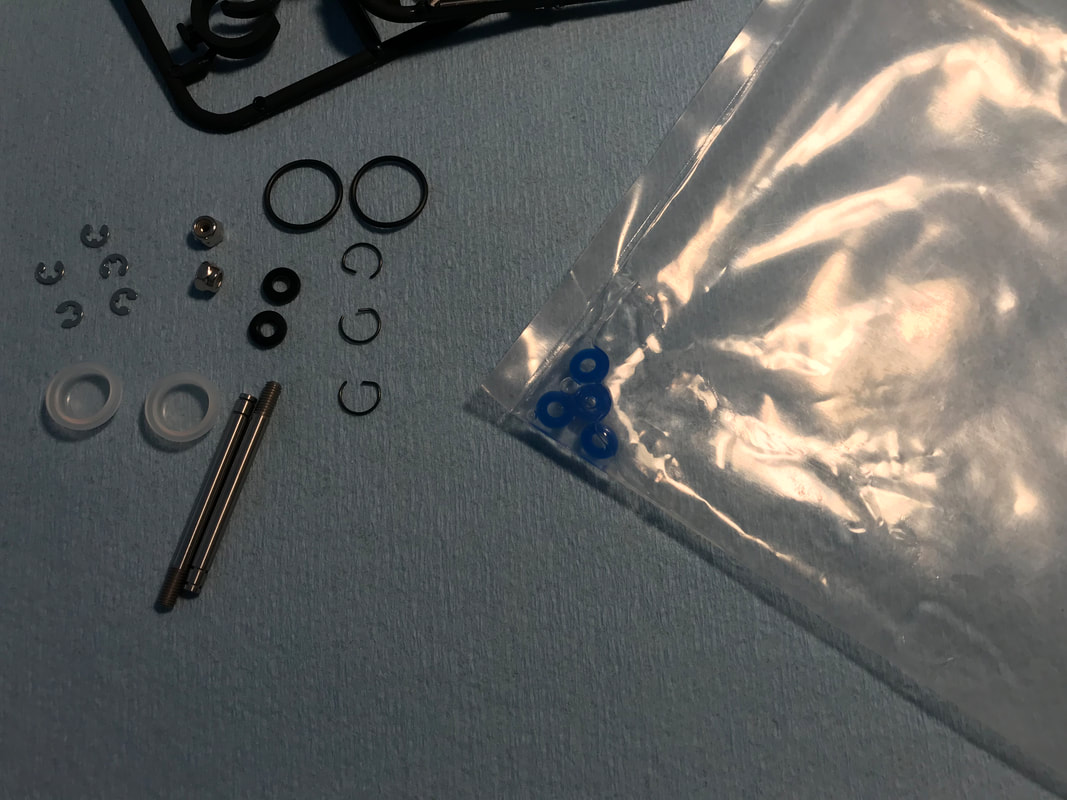 I like to start my shock builds by soaking the o-rings in shock oil for a while. This helps to lubricate and swell the o-rings in preparation for installation in the shock bodies. The picture above shows the o-rings soaking in a small amount of shock oil 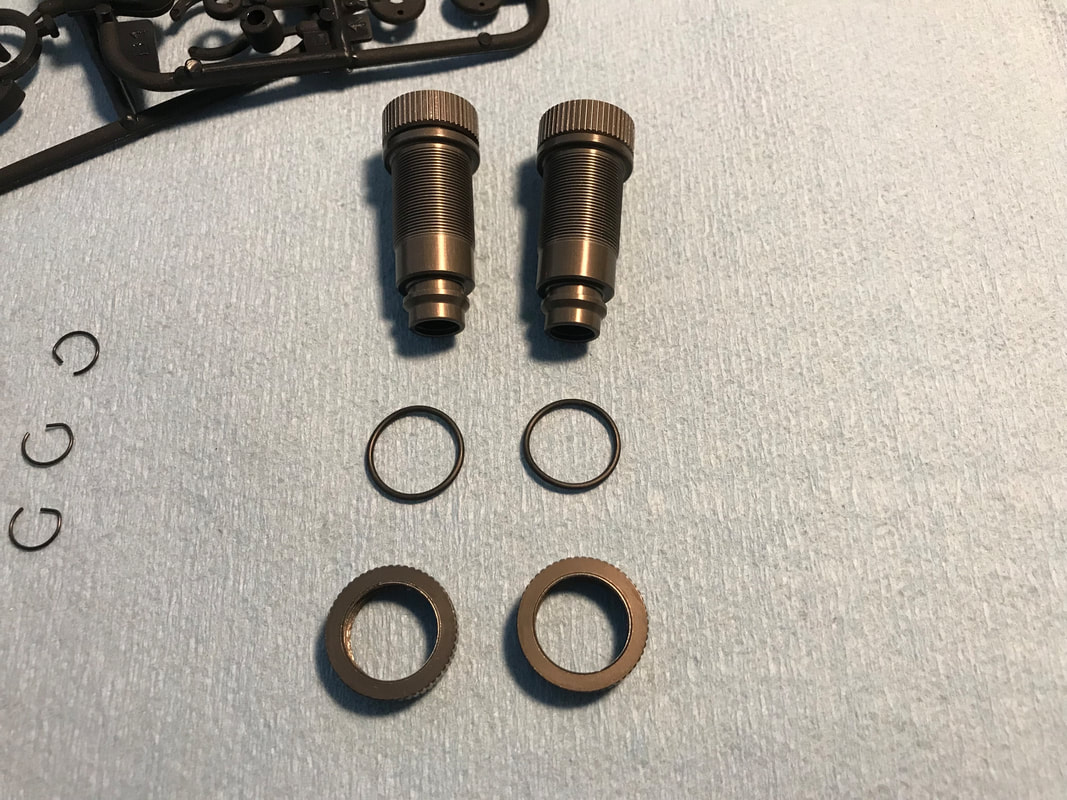 The next step was to install the o-rings inside the shock collars. They were a little fiddly but it only took a minute or so to get them nicely seated within the groove inside the shock collars 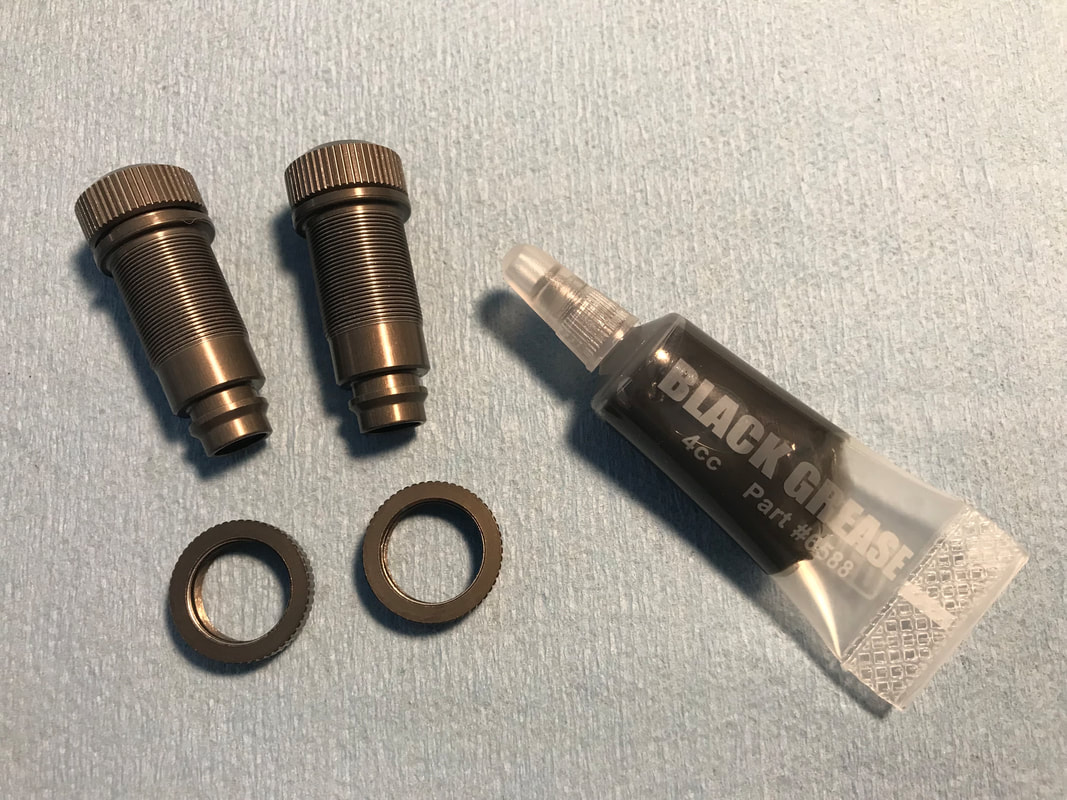 I like to add a small amount of black grease to the shock collar o-rings when installing them on the shock bodies. This helps them go on smoothly and also avoids accidentally loosening the shock cap when making ride height adjustments 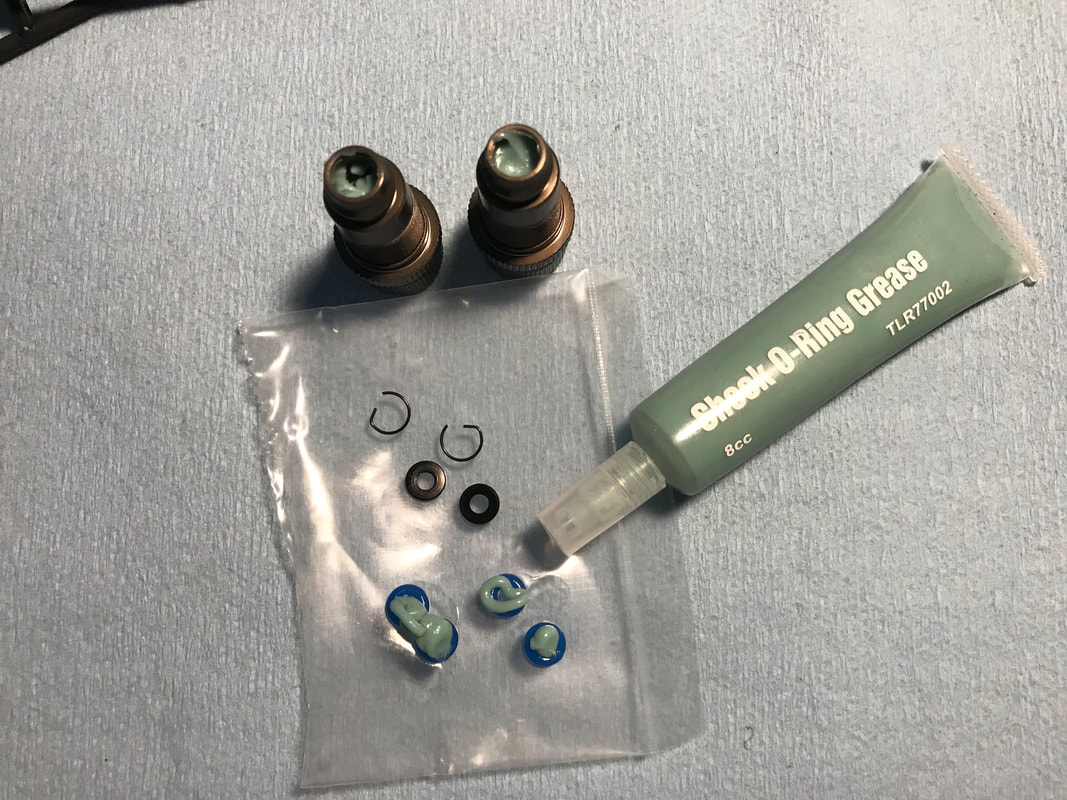 Next up, I built the shock cartridges. This is where the Green Slime comes in. I like to add some of the green slide to the inside of the lower shock body and then add some to the o-rings. The plastic collars were a snug fit so I used a Tamiya box wrench to push them into place then used my fingernail to install the snap rings 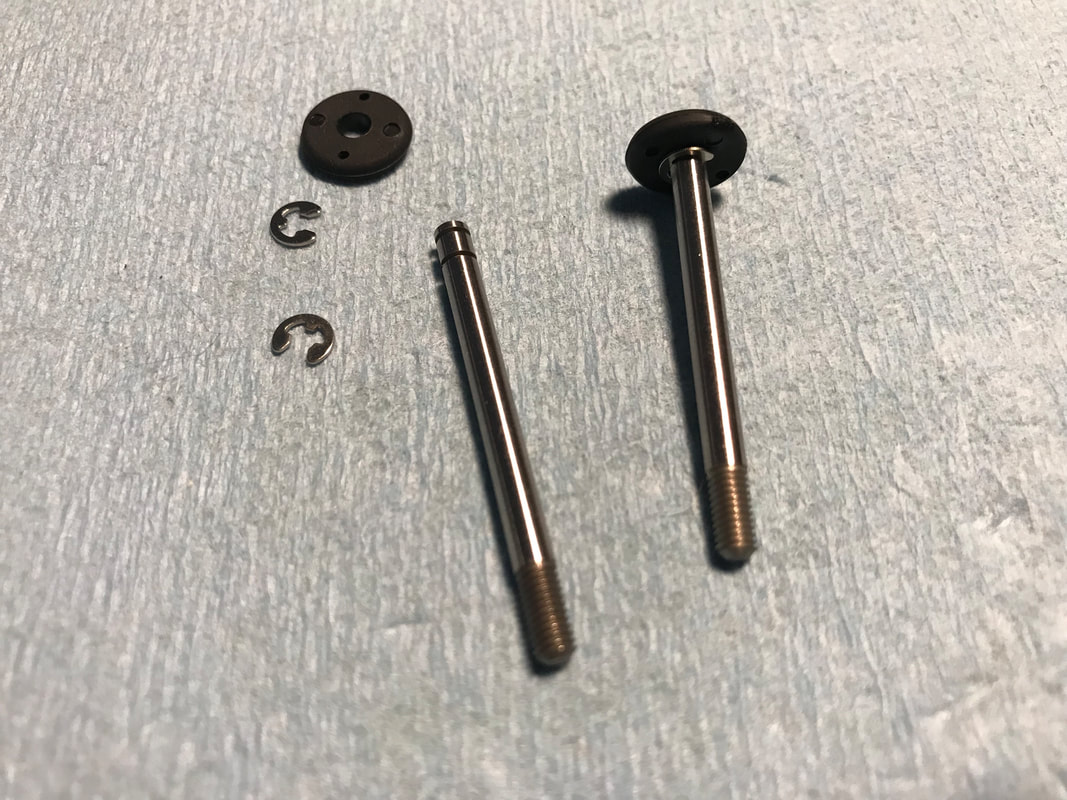 The pistons where next. It's been a long time since I've built shocks that used e-clips...they suck! Thankfully Redcat includes an extra e-clip as one of them shot across the room when I was trying to install it. I heard it ting off of the wall but couldn't find it anywhere after that. I chose to use the 2-hole pistons for the front shock build. The stock shock setup has 1-hole pistons. By assembling these ones with the 2-hole pistons, I can easily swap between 1-hole and 2-hole pistons by changing the entire shock shaft assembly or even the entire shock itself. Did I mention that I hate e-clips? 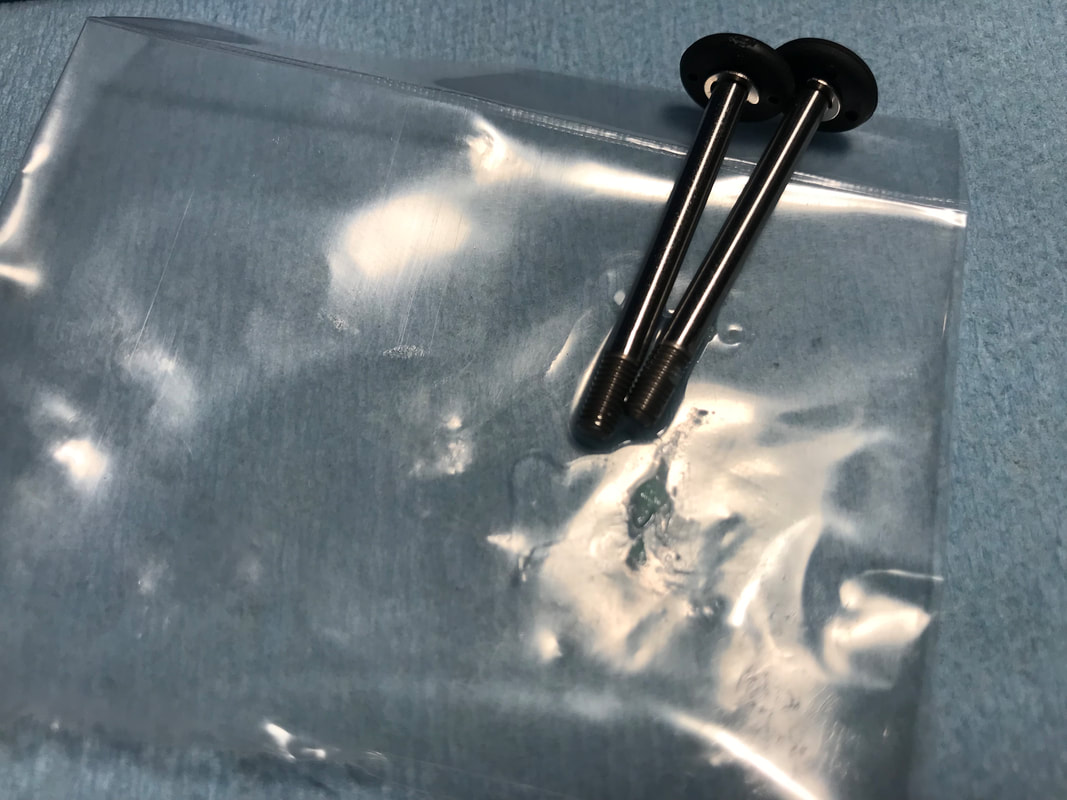 I like to put some shock oil on the shock shaft threads and add a small amount of oil in the shock body before inserting the shafts. This helps protect the o-rings for leak causing damage 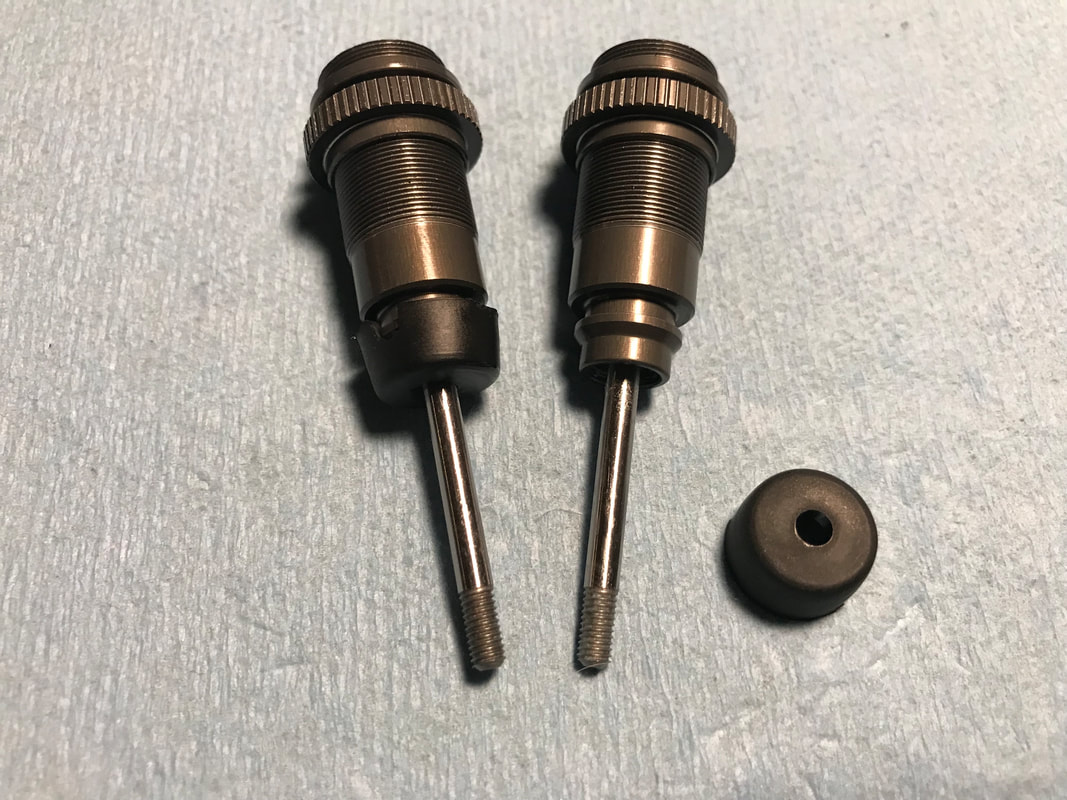 Although the instructions do not call for this, I added the plastic caps to the bottom of the shock bodies at this point. These caps don't fit perfectly but, without them, I feel the shock o-rings are too exposed to dirt and I just don't see that small snap ring being enough to keep everything in place Unfortunately, that's all I have time for today...I'll try to continue with this project later in the week... By the way, you can do me a HUGE favor by purchasing your TR-SC10E parts and hop-ups from me and also by using my Amazon link if you make any purchases at Amazon (they'll pay me a small commission)
You can also check out some of my other TR-SC10E project posts here: Part 1 - New Body Part 2 - ESC Mount Part 3 - Front Bumper Part 4 - Wheel Nuts Part 5 - Aluminum Rear Hubs and Aluminum Steering Knuckles Part 6 - Rear End Upgrades Part 7 - Front End Upgrades Part 8 - Ball Cups Part 9 - Battery Tray Part 10 - Tires Part 11 - Savox Servo Part 12 - Transmitter Upgrade Part 13 - T-Bone Racing Front Bumper 'till next time Rob
Brian
9/29/2019 11:42:12 am
Nice job on the article. What's the outer diameter of the shock piston in mm?
Chris
3/2/2020 01:08:08 pm
Od is 10mm
Chris
3/2/2020 09:51:10 pm
Hey Rob do you have any idea what those 2 small nuts are for that come with these shocks? They use c clips for the piston so I can't figure out what they are for. Thanks!
Chris
3/3/2020 10:05:23 am
Ok yeah that's what I was thinking. Must be for a different style shock where it uses the nuts on the end of the shaft. Thanks Rob. Comments are closed.
|